Set Up Your Cloud Tenant
Here is a step-by-step guide to signing up and creating your Elastio Tenant.
Navigate to the login.elastio.com page. Press “Create an account” on the bottom of the page. A sign up page will open.
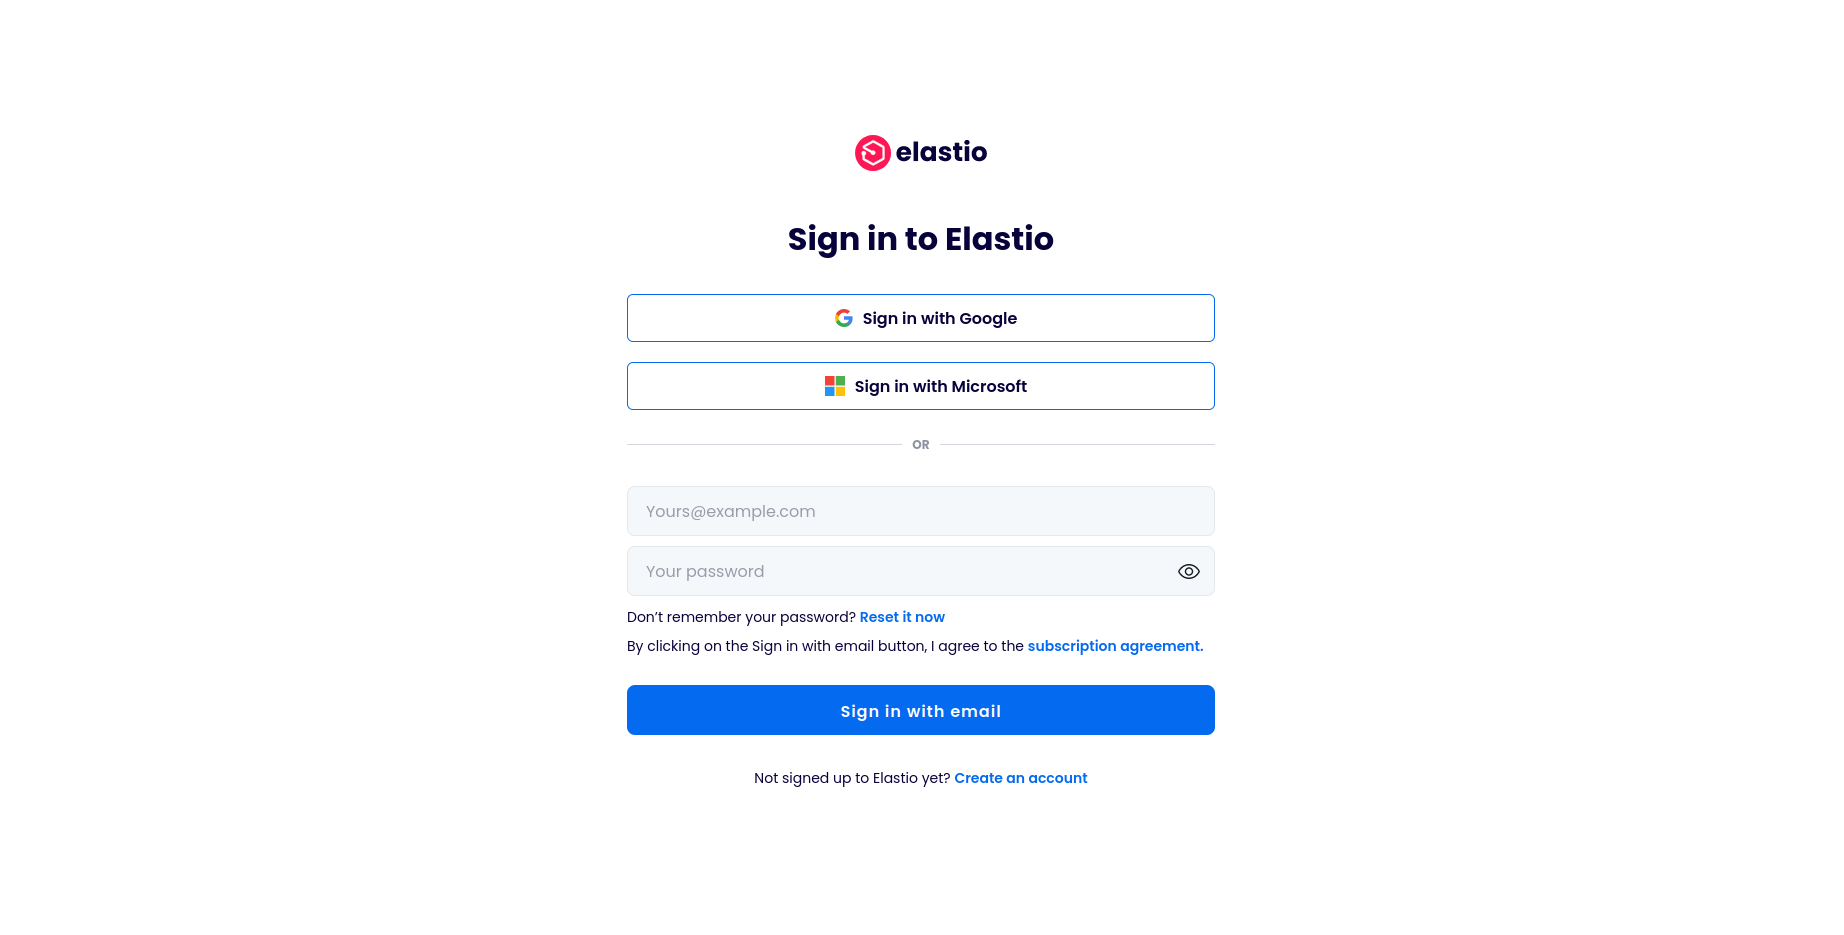
Figure 2.1: Sign in page
Here 3 options to sign up are provided: Google SSO, Microsoft SSO or email-password combination. For the latter you will also need to enter a name. Proceed with the option most convenient to you and register.
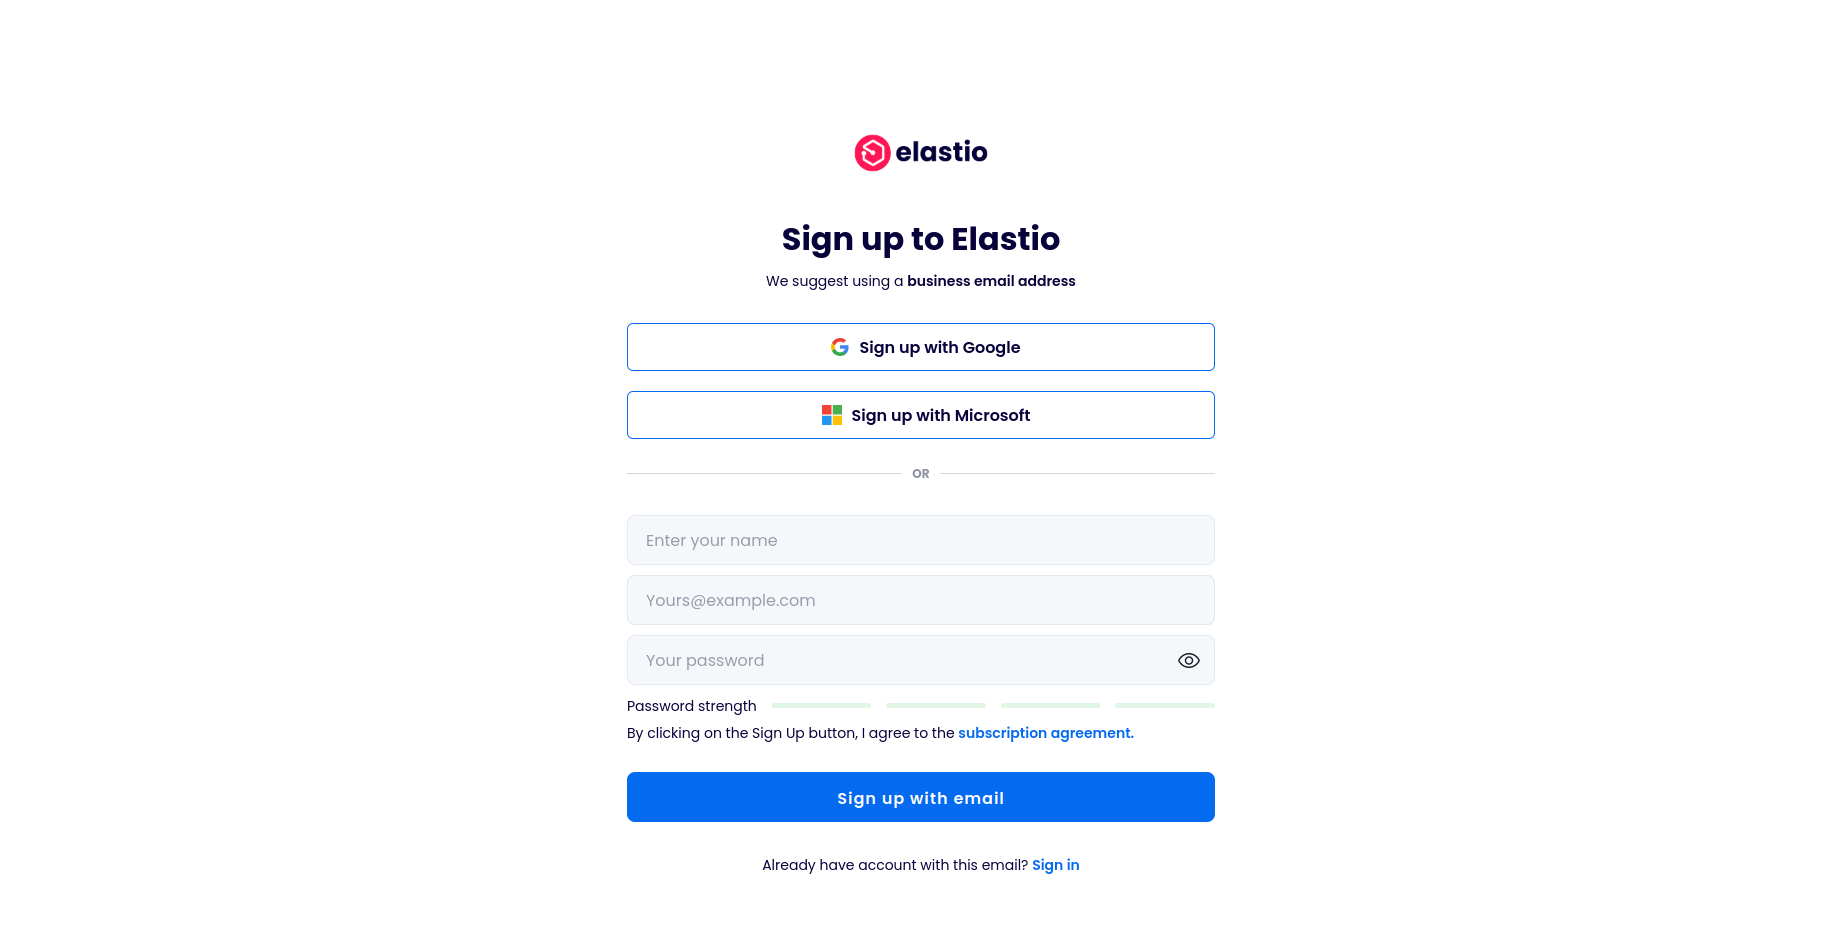
Figure 2.2: Sign up page
Once you sign up, a page with a “Create a tenant” button will open. Click the button.
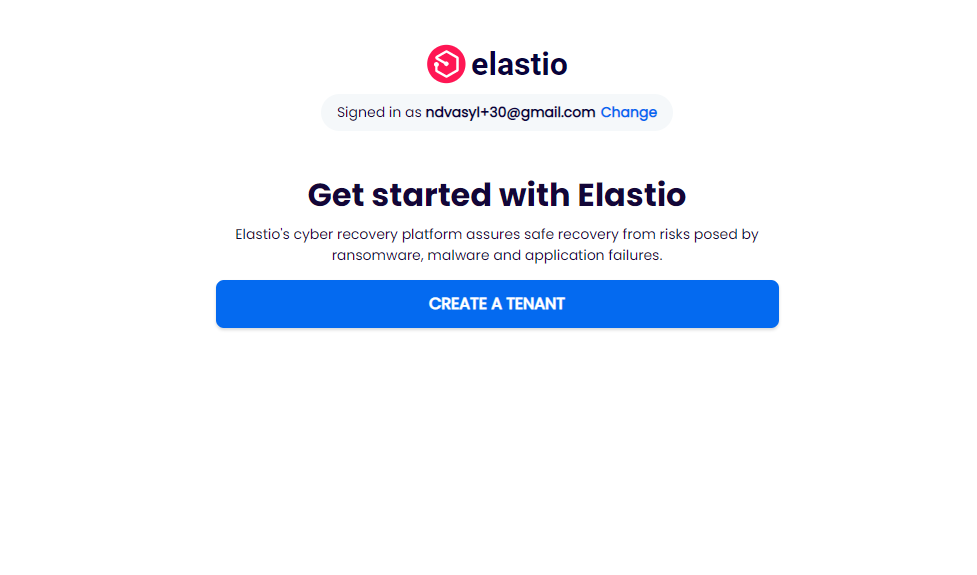
Figure 2.3: Select or create tenant page
When you press the “Create a tenant” button, a new page opens. An arbitrary tenant name is provided by default, which you can change to your preference. Then check the box and press the “Create a tenant” button.
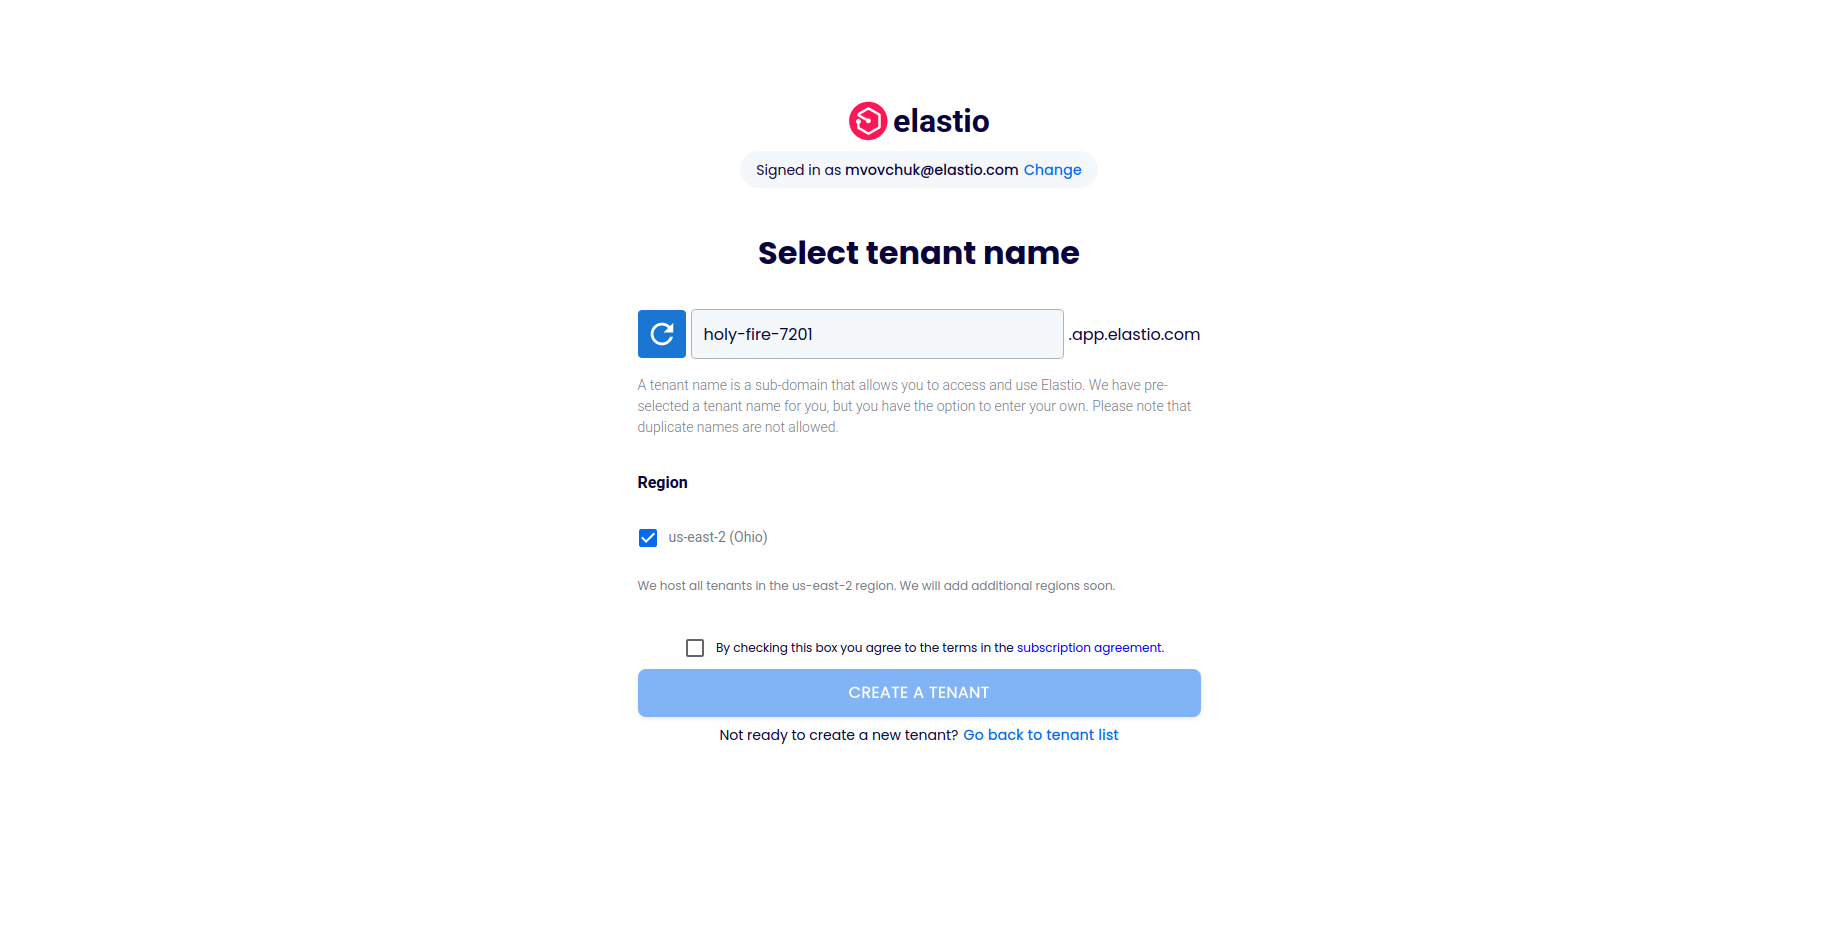
Figure 2.4: Create a tenant page
A loading page will open. Tenant creation might take a couple of minutes, so be patient. Once the tenant is created you will receive an email.
Figure 2.5: Tenant creation in progress page
Note that a couple minutes delay is due to the time that DNS names resolution requires to run successfully. Once it is completed, you will be automatically redirected to your tenant.
Any following logins will lead you to the page carrying a list of tenant available to you.
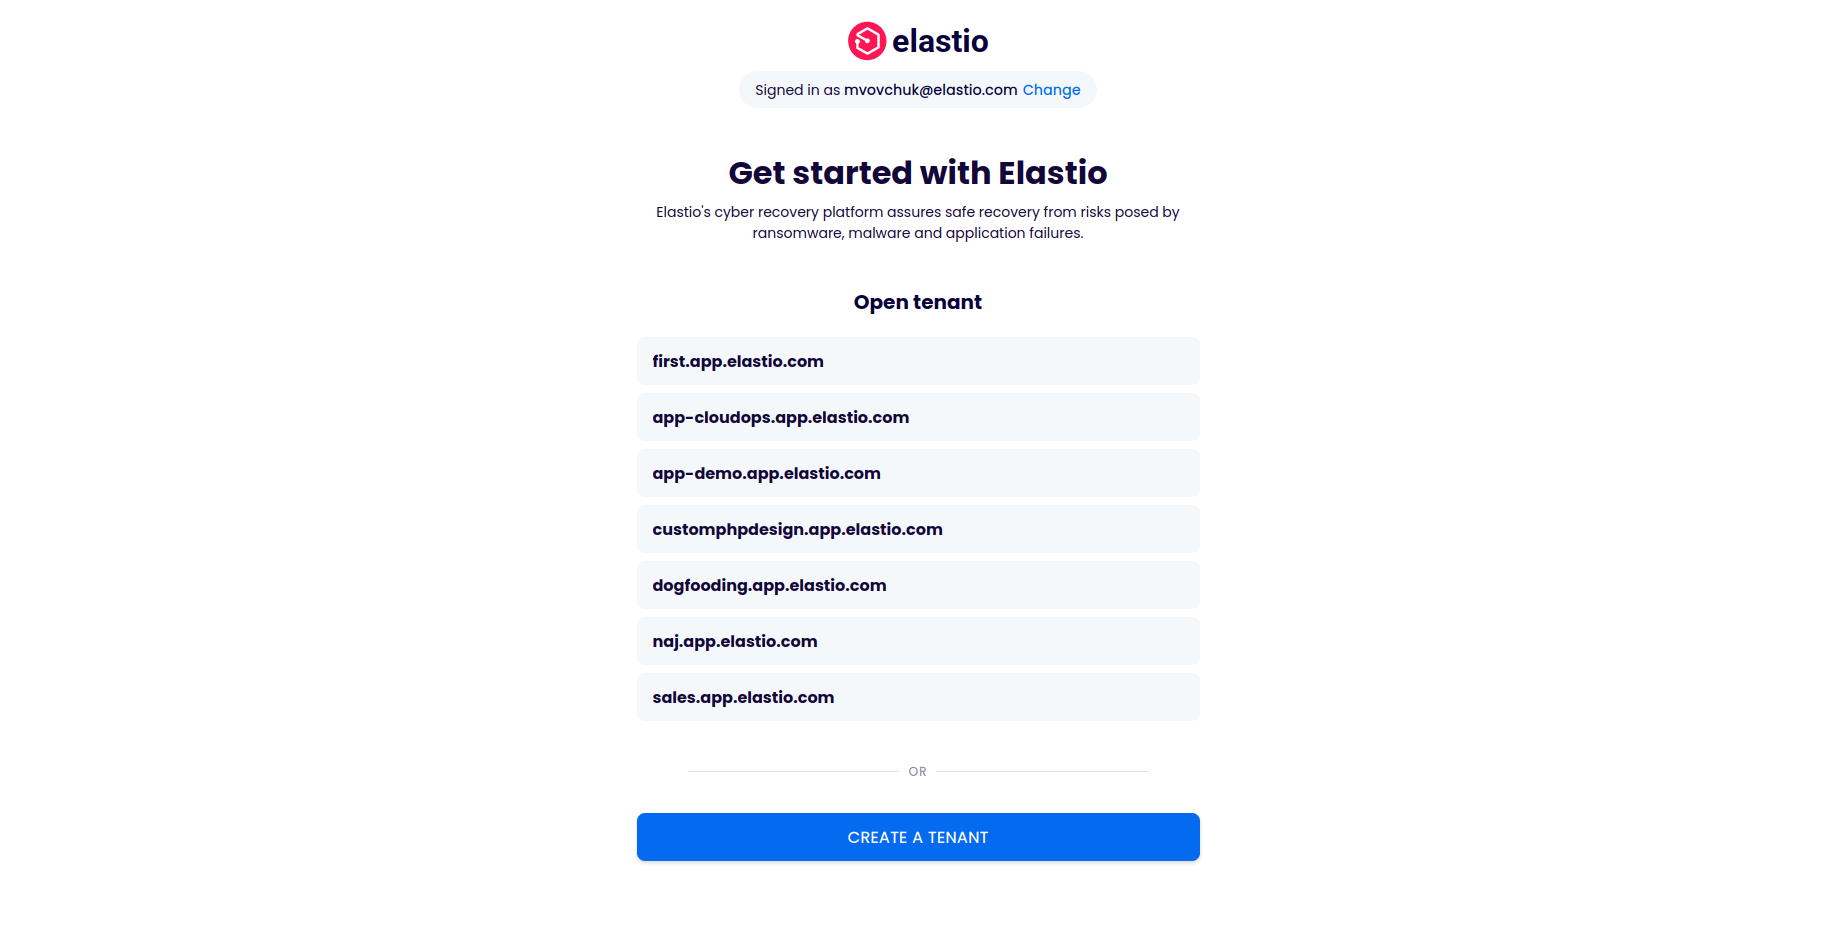
Figure 2.6: Select your tenant page