Webhook
Table of Contents
Webhook setup can be found in the Settings section of your Elastio tenant. Using a webhook you can set up notifications through any third-party alerting system of your choice.
Please note: The currently release webhook version is V0, which means that there might be some breaking changes in the webhook payloads that you will have to follow up on. Starting with V1, there aren’t any breaking changes expected anymore.
Navigate to the Settings section and select the Webhooks page. Here you have an option to setup notifications routing to any alerting and monitoring software of your choice under the condition that it supports the webhook interface.
On the Webhooks page you can see a list of all webhooks enabled and a widget that shows the amount of successful and failed webhook invocations at a glance. From here you can also edit, remove or add a new webhook.
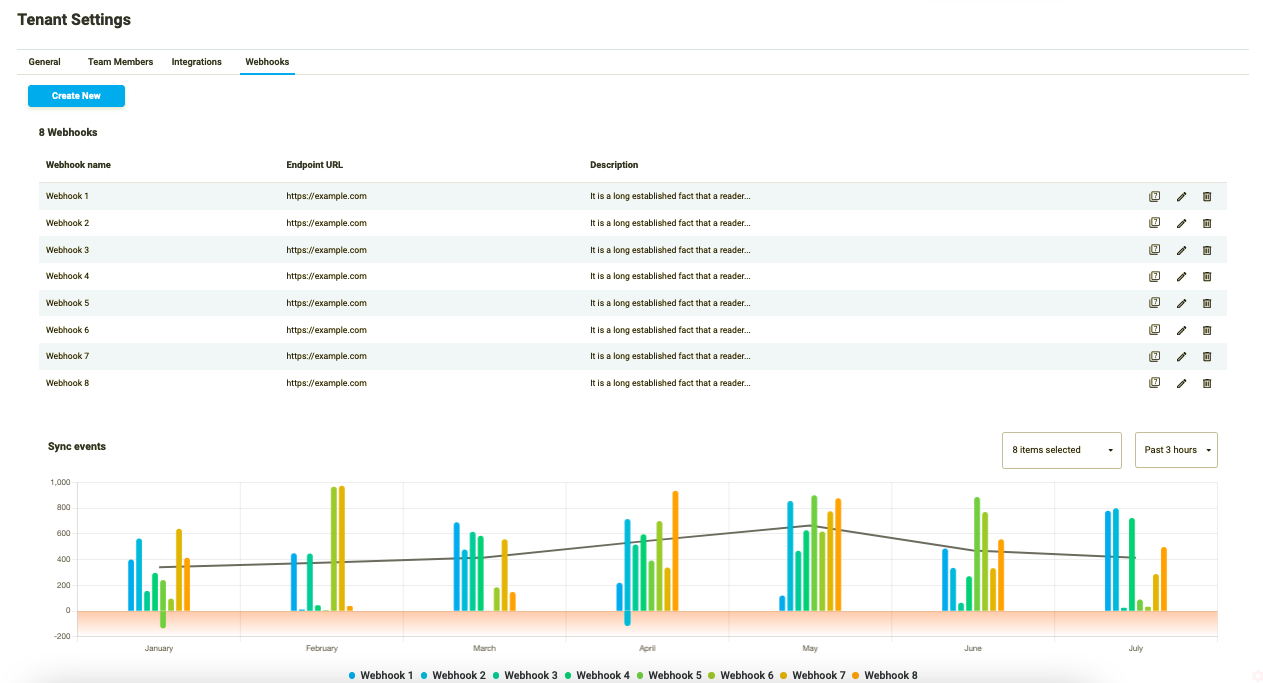
Figure 1: Webhooks tab
Add a new webhook
To add a new webhook, press the “Create new” button. In the pop-up that opens include the following data and then press the “Next: Select events” to proceed with the webhook creation:
- Webhook name
- Endpoint URL
- Authentication option
- Description
Several authentication options are available: no authentication, basic authorization, bearer token, API key.
Please note: Authentication fields are limited by 255 bytes (that amounts to 255 symbols), ASCII symbols only can be used.
You can press the “Test webhook” button to check if the settings are correct and the webhooks works as expected.
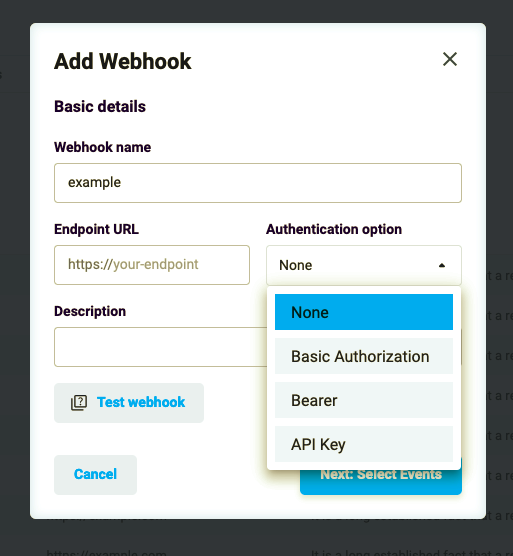
Figure 2: Add a new webhook
On the second step of a new webhook creation you can select events and their severity to pass through the webhook.
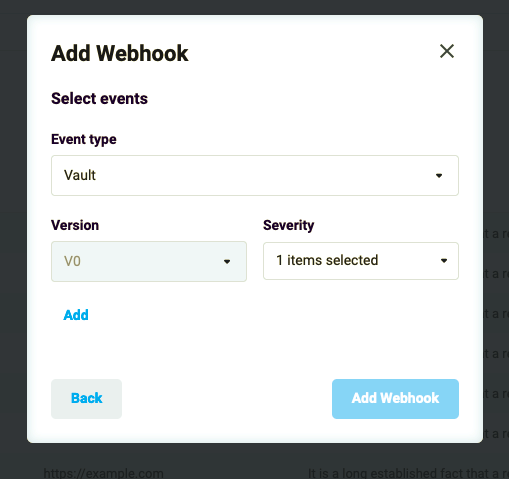
Figure 3: Select event
Here you can select the event type, version and severity. Once selected, press the “Add” button. The event will be added to the list. You can include multiple events in a single webhook.
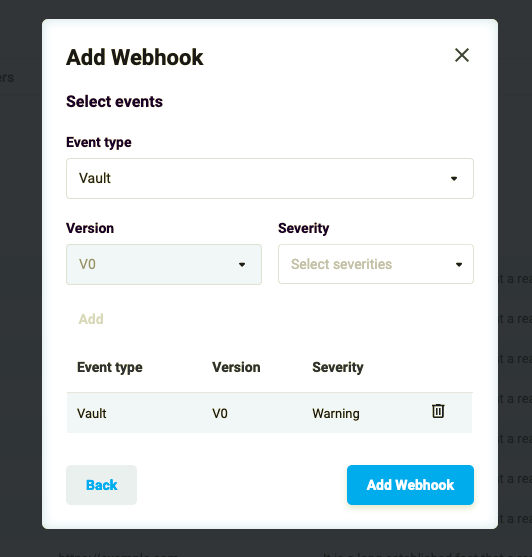
Figure 4: Selected events
When everything is set up, press the “Add Webhook” button to save the webhook.
Edit a webhook
In order to edit the pre-existing webhook you need to press the “Edit” button. A new page will open, where you can change all the settings of the webhook.

Figure 5: Edit webhook
Additionally, you can run a test on the new webhook details inserted before enabling it to make sure it is set up correctly.
At the bottom of the page you can see a graph displaying the amount of successful and failed invocations of this webhook.
Remove a webhook
To remove a webhook press the “Delete” button to the right of the webhook’s name in the webhooks table. A pop-up confirmation window will appear.
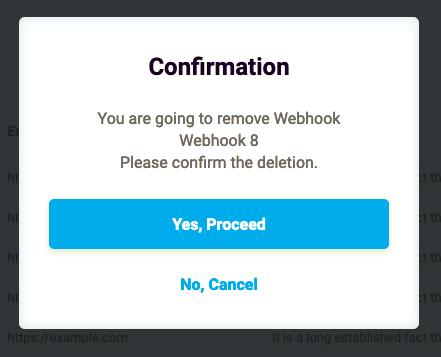
Figure 6: Delete webhook
Press the “Yes, proceed” button to confirm the webhook deletion. After you confirm the operation, the webhook is removed.
Events types
All events available via webhook integration are divided into the following groups: