Assets
Table of Contents
An Asset is a resource that is eligible for scan and / or backup. The Assets page can be accessed through the navigation menu in the top right corner of any Elastio Tenant page.
The Elastio Tenant Assets page is broken down into several tabs: EC2, EBS, S3, EFS and Generic Host. It allows you to switch between the asset types rapidly.
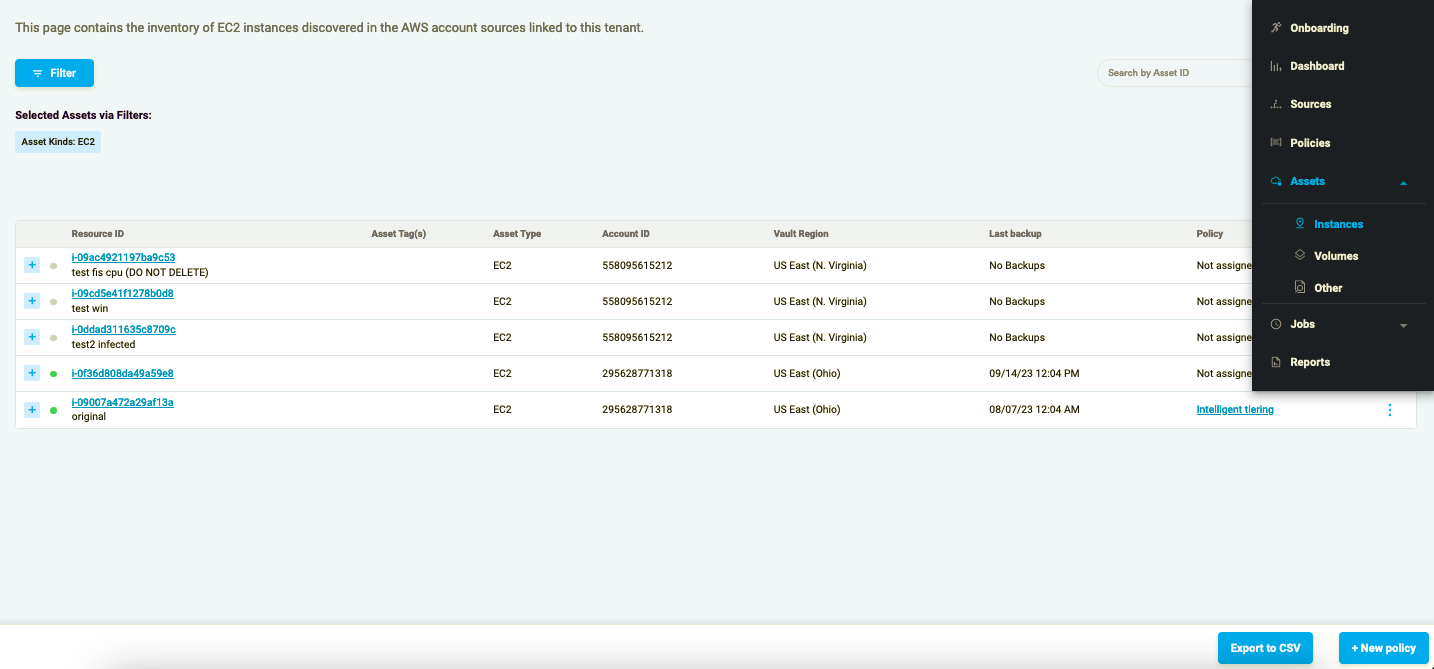
Figure 1: The Assets menu
EC2
EC2 tab carries a table of all EC2 instances that were discovered in the accounts linked to Elastio as Sources. The EC2 table contains the following information: Instance (name tag and instance ID of the AWS EC2 instance), Account (AWS account number), Region (AWS region where the asset is located), Last Backup (can be the date of the latest AWS or Elastio backup), Last Scan (the date of the last Elastio scan performed on the asset), Status (Running, Stopped, Terminated), Policy Coverage (a list of Elastio protection policies that the asset is covered by).
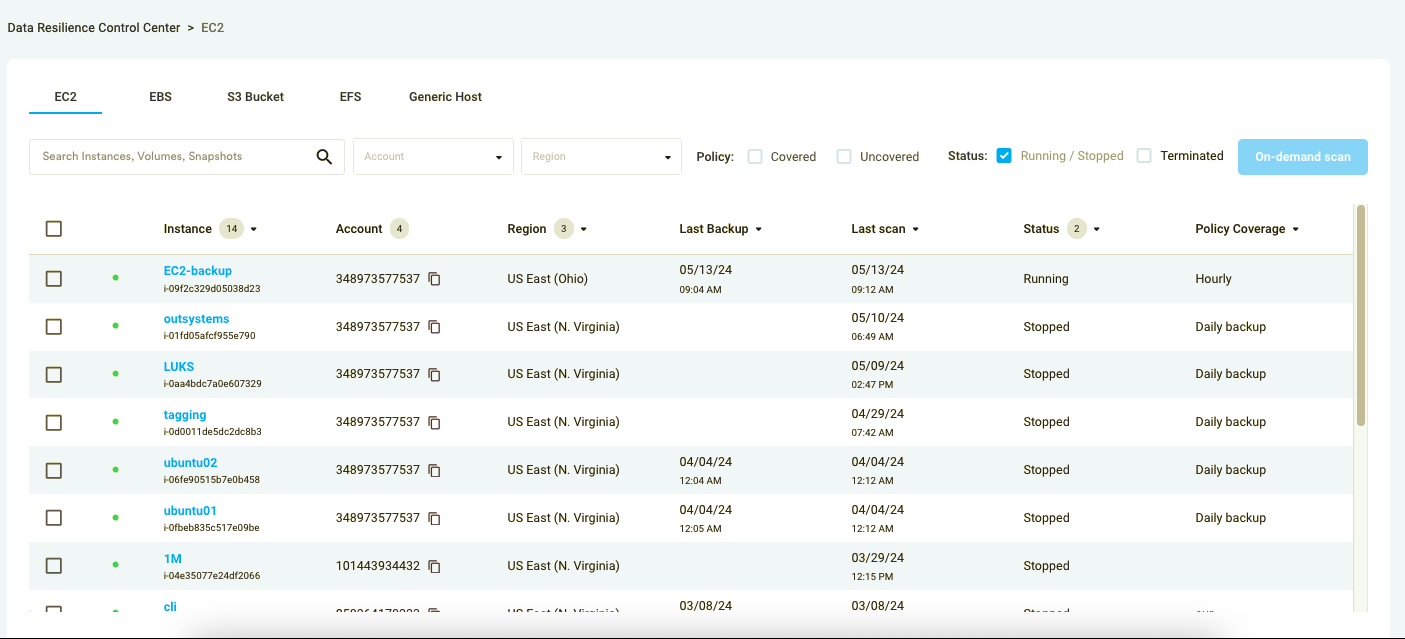
Figure 2.1: EC2
The EC2 list can be filtered by AWS account, region, policy coverage, and status of the instance. The list can be searched by instance, volume or snapshot ID.
Additionally, you can select one or more instances from the list and press the “On-demand scan” button that will start an Elastio scan for malware and ransomware vulnerabilities in one click.
If you press on a certain AWS EC2 instance you will be redirected to a detailed view page, where you can find a list of recovery points, scans and jobs for the said resource.
To see more information about the instance, you can press on the “More Details” button under the Instance information on the top of the page. The tab that opens will carry the details on the instance, it’s latest scan, threats status with details on identified threats if any, as well as a tab containing the data for Entropy Trends.
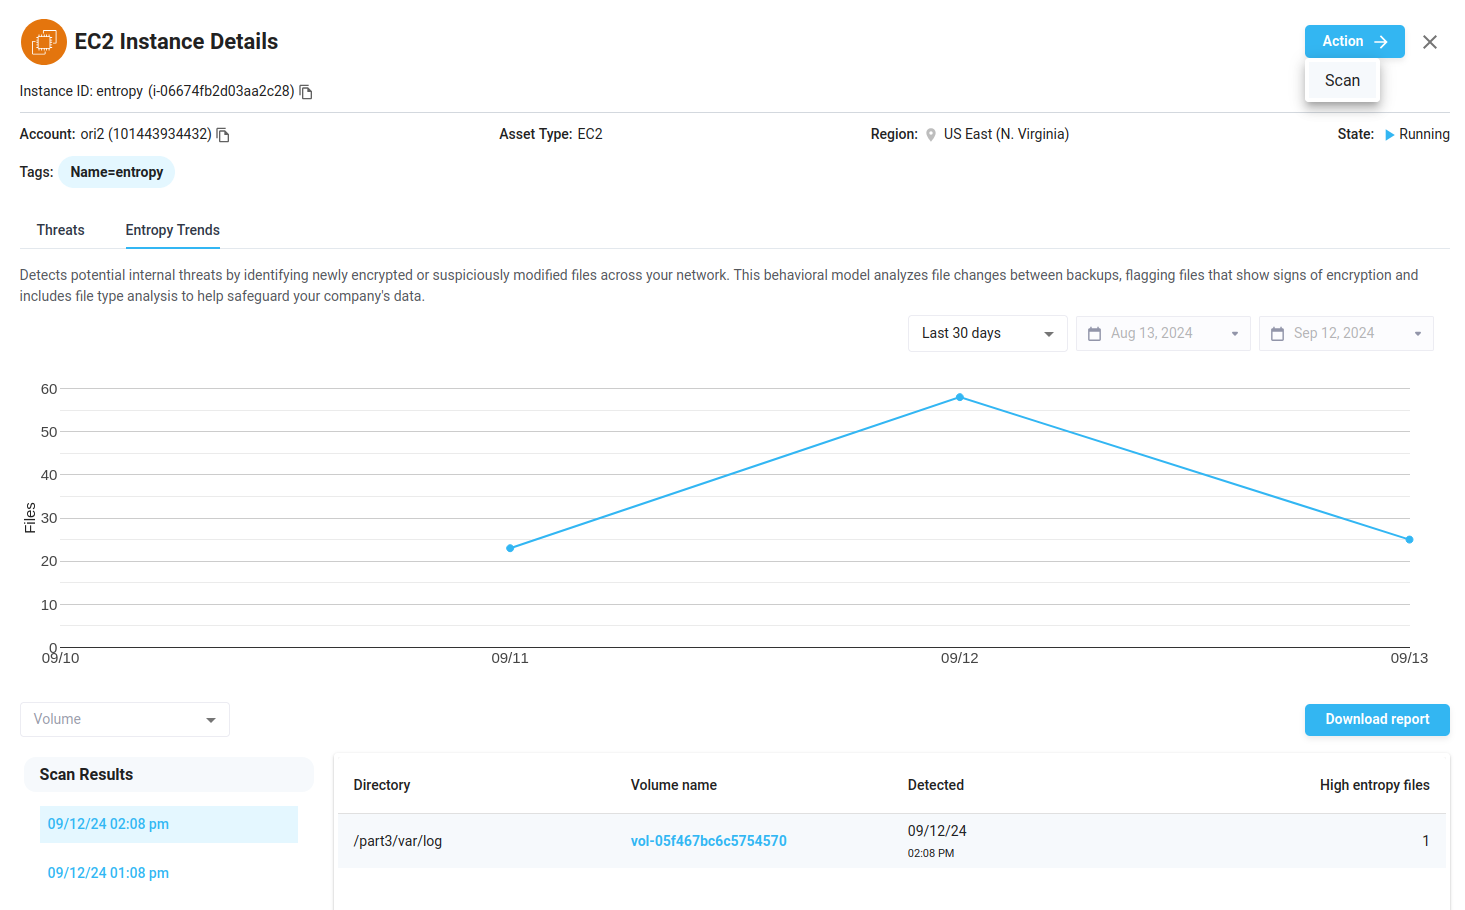
Figure 2.1.1: EC2 Entropy Trends
The recovery points, scans and jobs are separated into tabs.
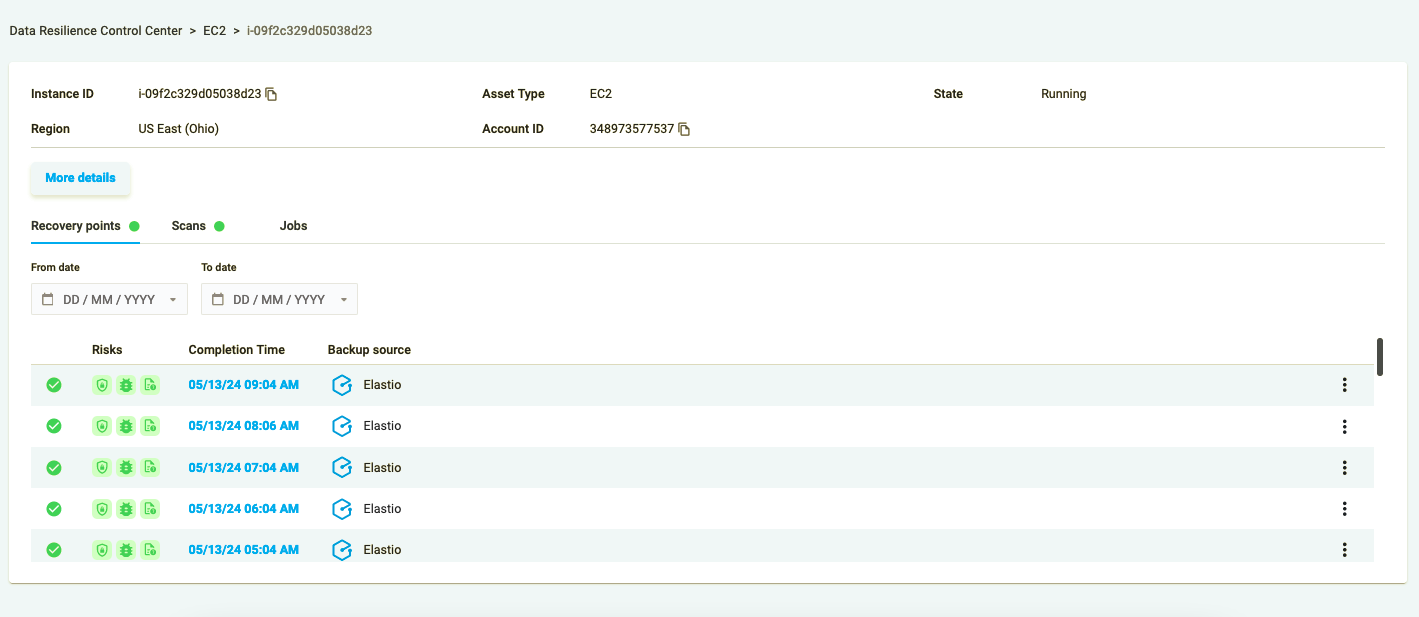
Figure 2.2: EC2 / Recovery Points
Recovery Points tab contains a table of recovery points of a certain EC2 instance. It includes the risks icons (malware, ransomware and filesystem corruption), completion time and the source of the recovery point. From the list of the recovery points you can restore, mount or scan any Elastio recovery point from the list.
To the right of the Recovery Points tab, you can find the Scans tab (if there are any scans performed for this assets).
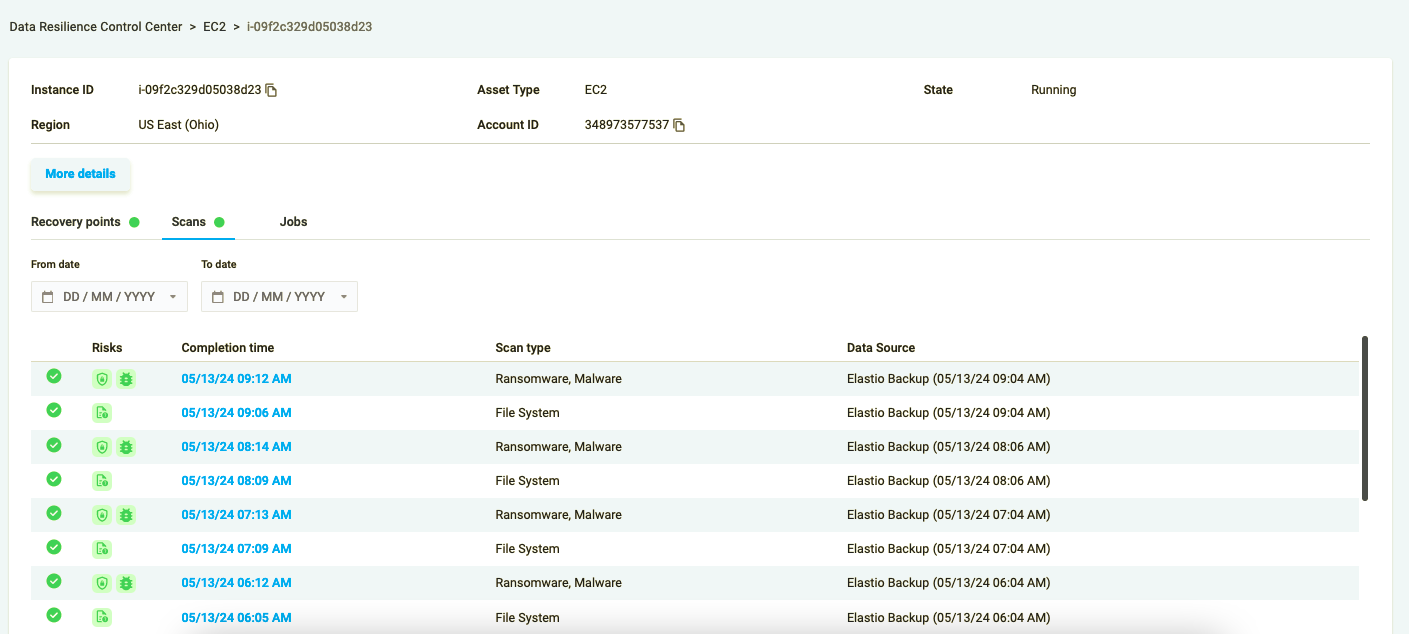
Figure 2.3: EC2 / Scans
Scans table contains risks (malware or ransomware infection or file system corruption will make the icons red), completion time, scan type (malware, ransomware or both, and filesystem), data source (can be Elastio backup, AWS backup, AMI etc).
To the right of the Scans tab, you can find the Jobs tab. This tab contains the full list of jobs performed on the selected asset.
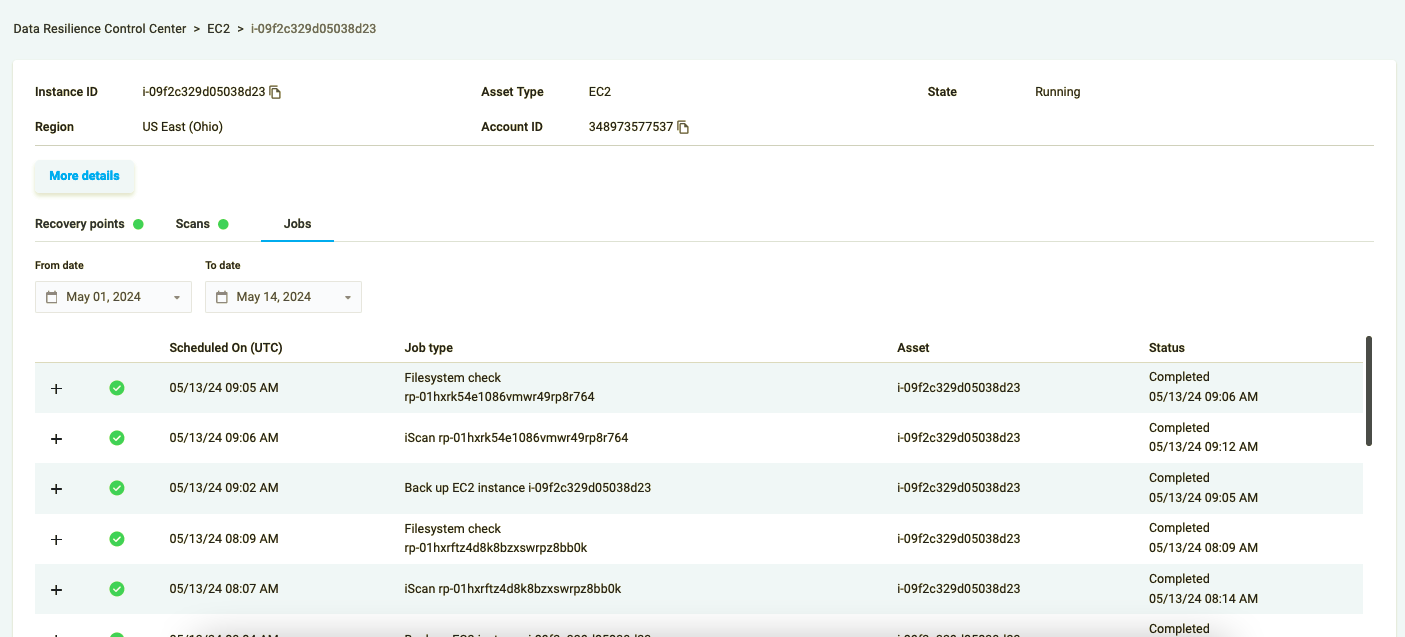
Figure 2.4: EC2 / Jobs
The Jobs table contains the Scheduled On date and time, job type, asset and status of the job.
EBS
EBS tab carries a table of all EBS volumes that were discovered in the accounts linked to Elastio as Sources. The EBS table contains the following: Volume (name tag and volume ID of the AWS EBS volume), Account (AWS account number), Region (AWS region where the asset is located), Last Backup (can be the date of the latest AWS or Elastio backup), Last Scan (the date of the last Elastio scan performed on the asset), Policy Coverage (a list of Elastio protection policies that the asset is covered by).
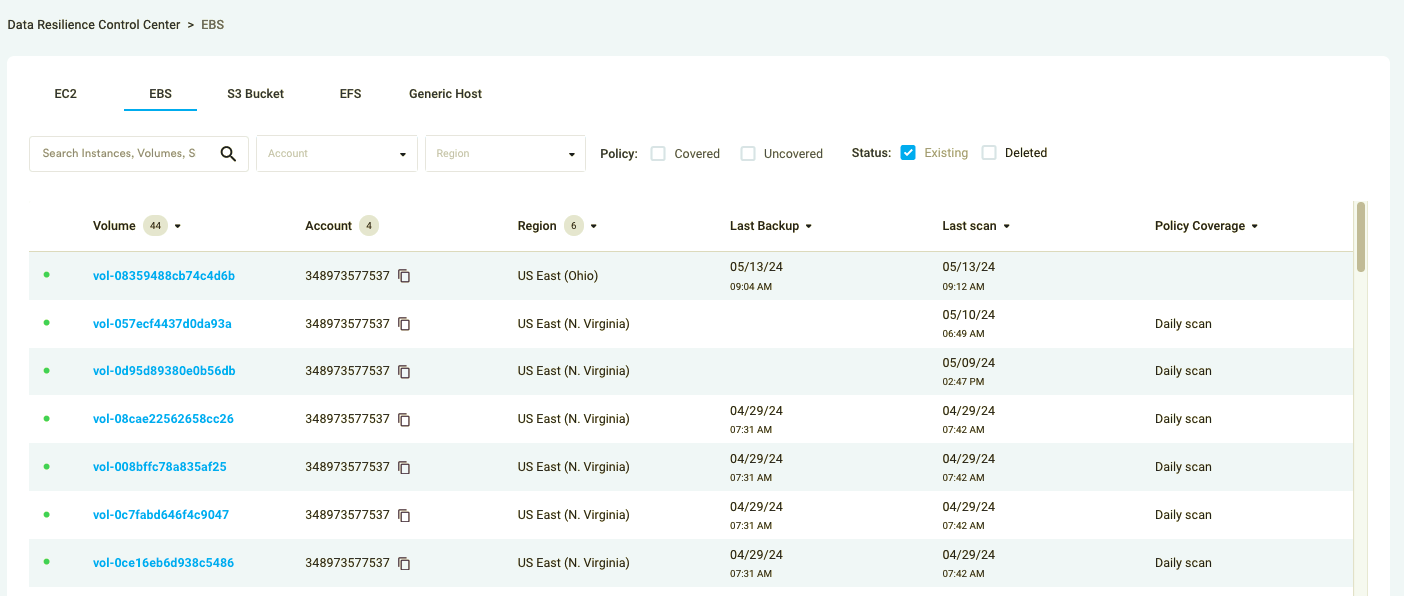
Figure 3.1: Assets / EBS
If you press the EBS volume ID, you will be redirected to the volume detailed view page, where more information on the asset is displayed. Additionally, you can see a list of all recovery points, scans and jobs of this asset separated into respective tabs: Recovery Points, Scans, Jobs.
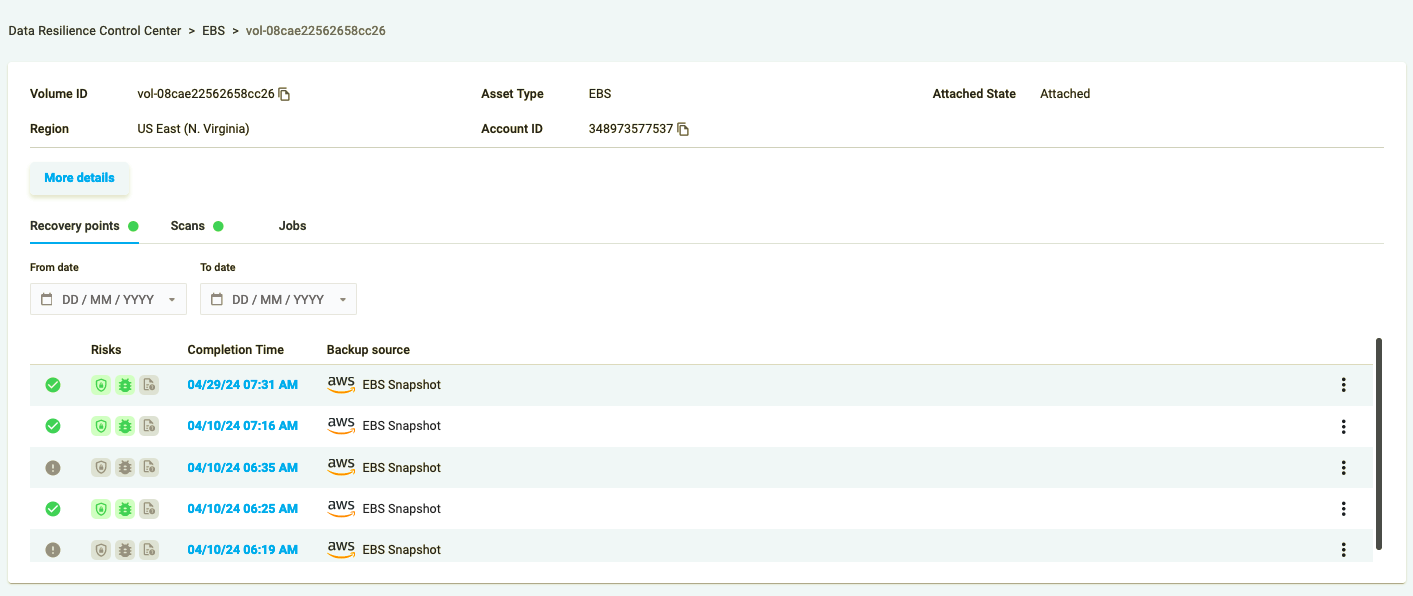
Figure 3.2: Recovery Points
Recovery Points tab contains a table of recovery points of a certain EBS volume. It includes the risks icons (malware, ransomware and filesystem corruption), completion time and the source of the recovery point. From the list of the recovery points you can restore, mount or scan any Elastio recovery point from the list.
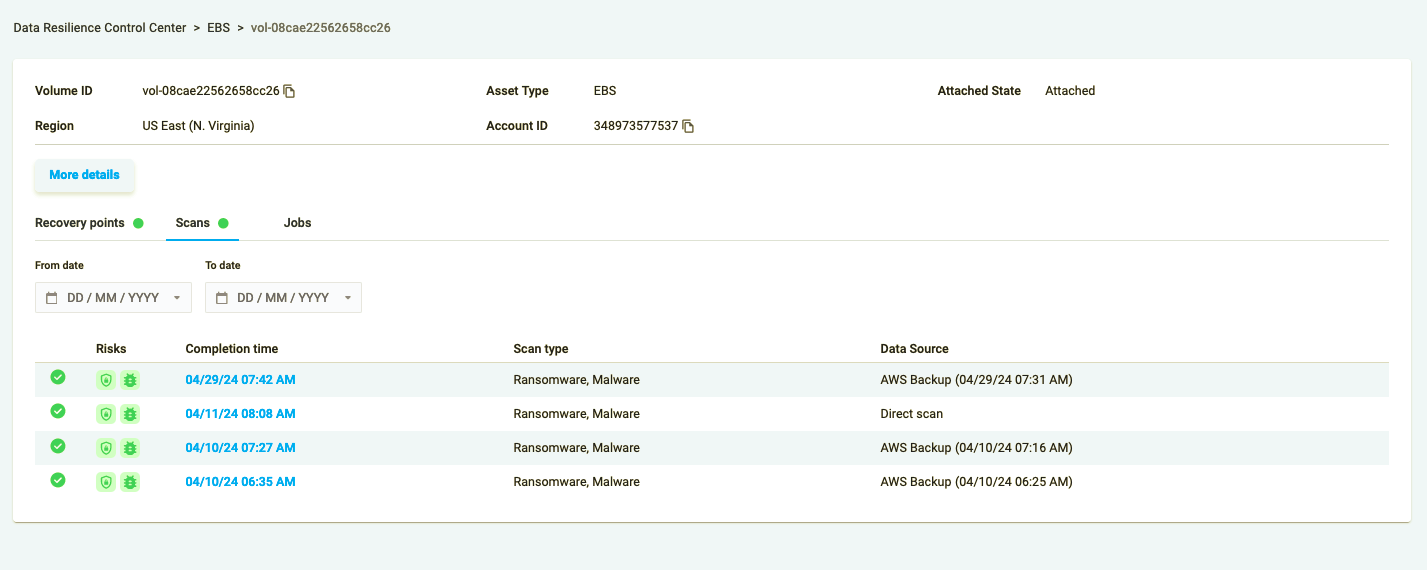
Figure 3.3: EBS / Scans
Scans table contains risks (malware or ransomware infection or file system corruption will make the icons red), completion time, scan type (malware, ransomware or both, and filesystem), data source (can be Elastio backup, AWS backup, AWS snapshot etc).
To the right of the Scans tab, you can find the Jobs tab. This tab contains the full list of jobs performed on the selected asset. The Jobs table contains the Scheduled On date and time, job type, asset and status of the job.
S3 Bucket
S3 Bucket tab contains a list of all S3 buckets discovered across the AWS accounts linked to the Elastio Tenant as sources. The list contains both protected and unprotected by Elastio assets.
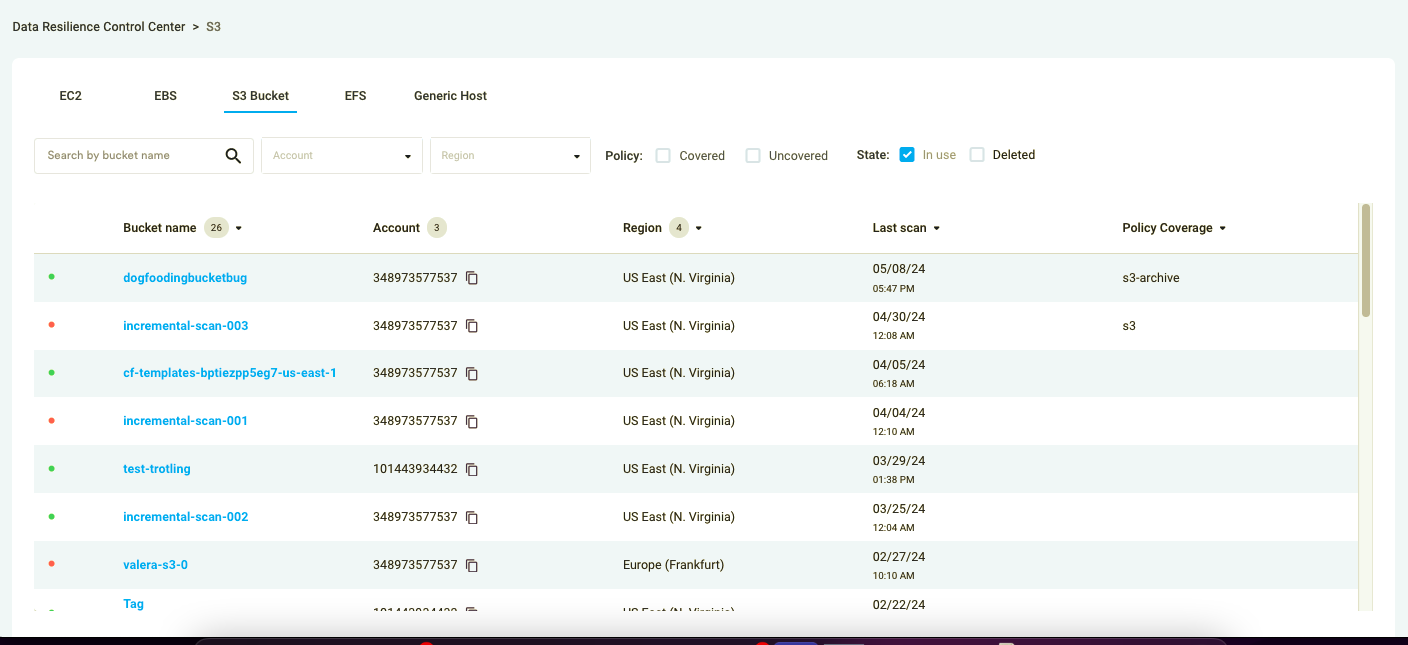
Figure 4.1: Assets / S3 Bucket
The table of S3 buckets contains the following information: Bucket name, Account (AWS account number), Region (AWS region where the asset is located), Last Scan (the date of the last Elastio scan performed on the asset), Policy Coverage (a list of Elastio protection policies that the asset is covered by).
By clicking on the bucket name, you can get to the detailed S3 bucket page, containing more information on the asset, as well as a list of its scans and jobs.
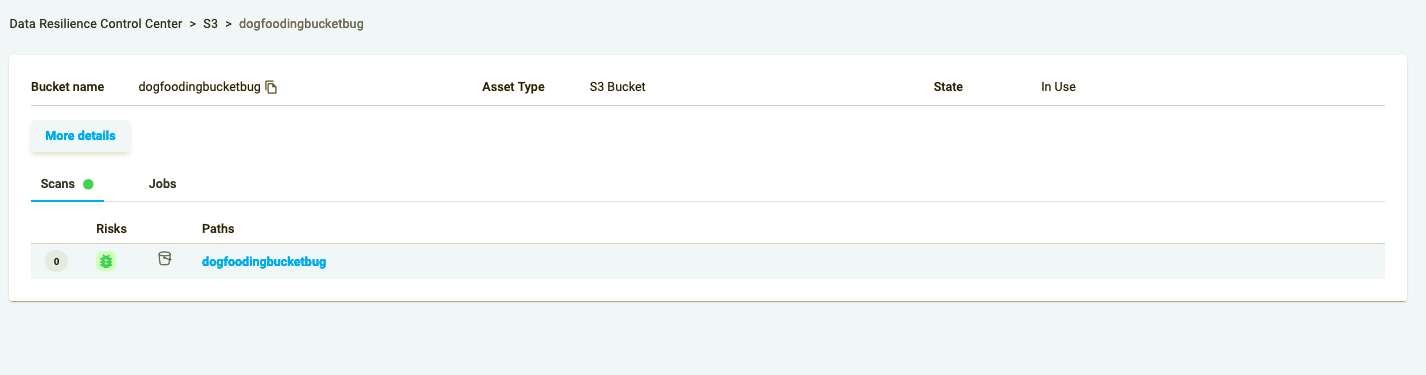
Figure 4.2: S3 Bucket / Scans
The Scans tab carries Risks (icons signifying if there is any kind of infection on the bucket) and scanned paths. By pressing on the scanned path you can see a complete list of scans performed on this particular path and the results of the scan (clean or infected).
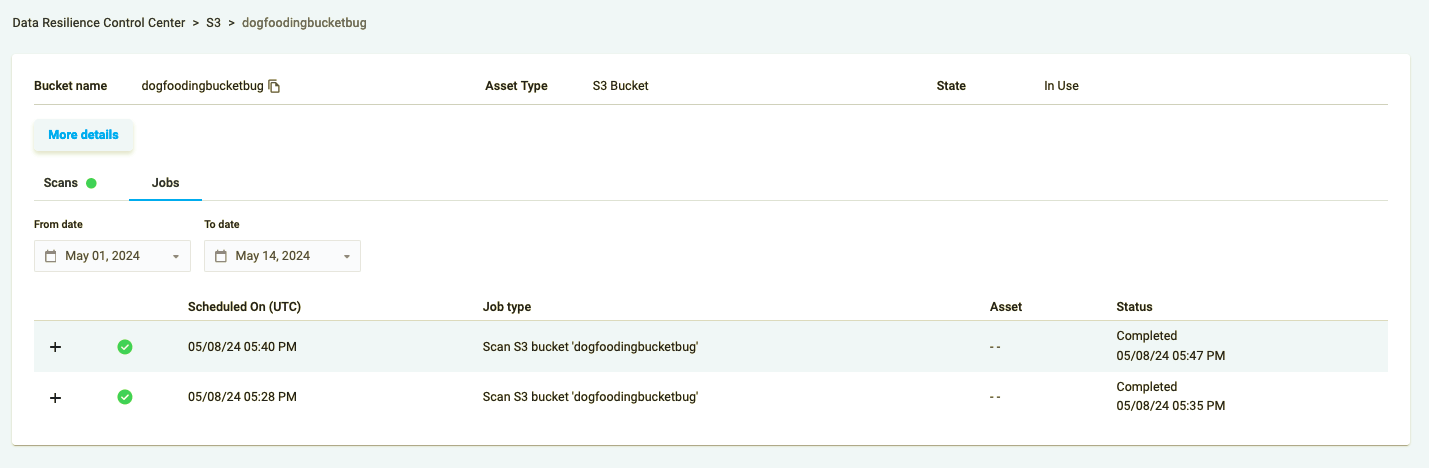
Figure 4.3: S3 Bucket / Jobs
The Jobs table contains the Scheduled On date and time, job type, asset and status of the job. If the list of jobs is empty, you might want to extend the time frame on the op of the Jobs tab since the jobs are displayed by default only for the current month.
EFS
EFS Assets tab contains the list of the AWS EFS eligible for protection through Elastio that were discovered across the AWS accounts linked to the Elastio Tenant as sources.
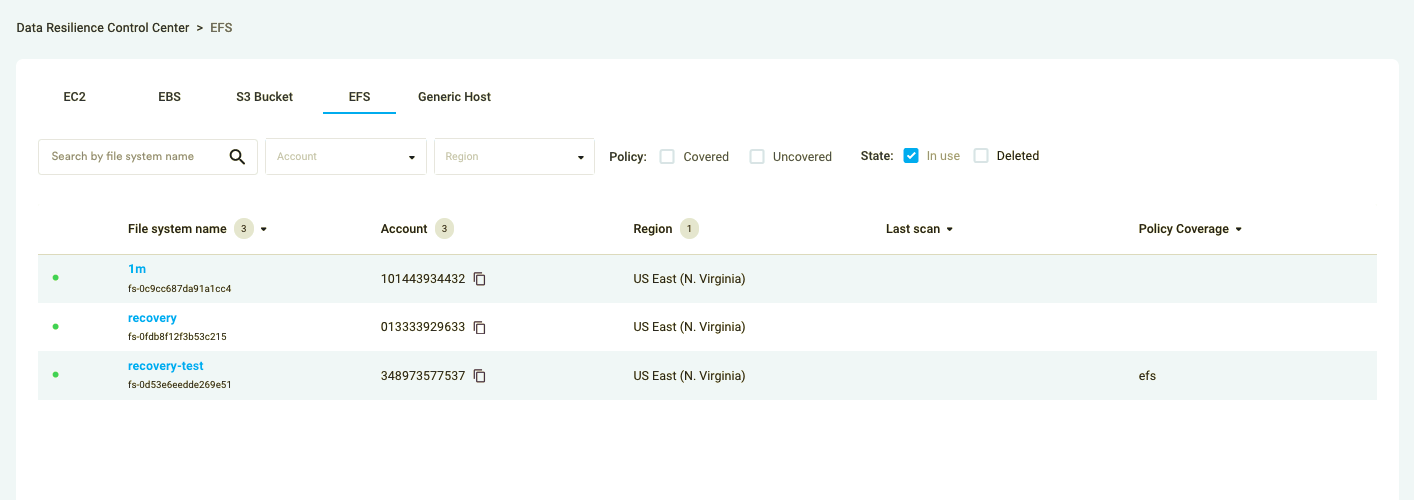
Figure 5.1: Assets / EFS
EFS tab contains a table carrying the following information: File system name, Account (AWS account number), Region (AWS region where the asset is located), Last Scan (the date of the last Elastio scan performed on the asset), Policy Coverage (a list of Elastio protection policies that the asset is covered by).
When you press on the File system name you are then redirected to the EFS detailed page. Some detailed information on the AWS EFS in question is displayed on this page alongside a list of scans and jobs (separated into 2 tabs).
Scans tab table displays the risks and the scanned paths. While Jobs tab contains a list of jobs that were run for this asset.
Servers
Servers tab displays a list of all scanned servers from various backup vendors that you enabled with Elastio. They include but are not limited to Veeam, Commvault, Cohesity, etc.
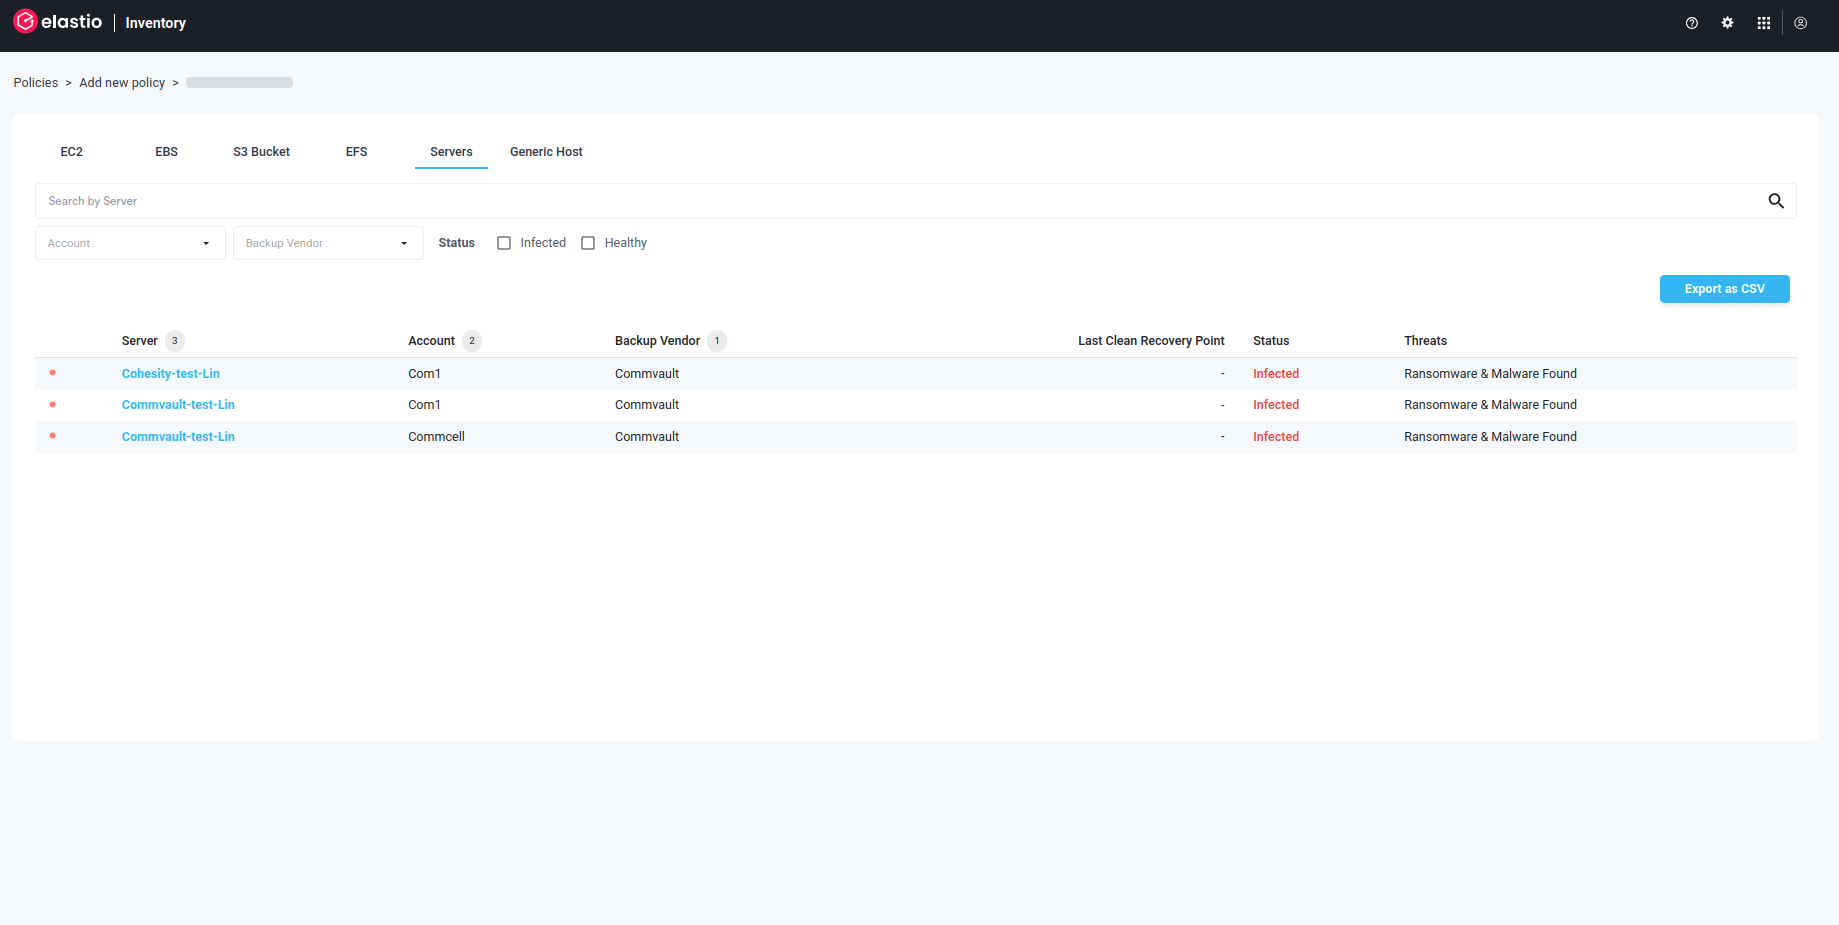
Figure 6.1: Assets / Servers
The Servers table contains the following information: Server (name and/or ID), Account, Backup Vendor, Last Clean Recovery Point, Status and Threats.
You can search this table by the Server name. Other filters also include Account, Backup Vendor and Status (Infected or Healthy).
Generic Host
Generic Host tab displays a list of all generic hosts scanned or backed up through Elastio. It contains Host Name, Threats (a number of threats discovered on a certain asset), and Last scan (the date of the last Elastio scan performed for this asset).
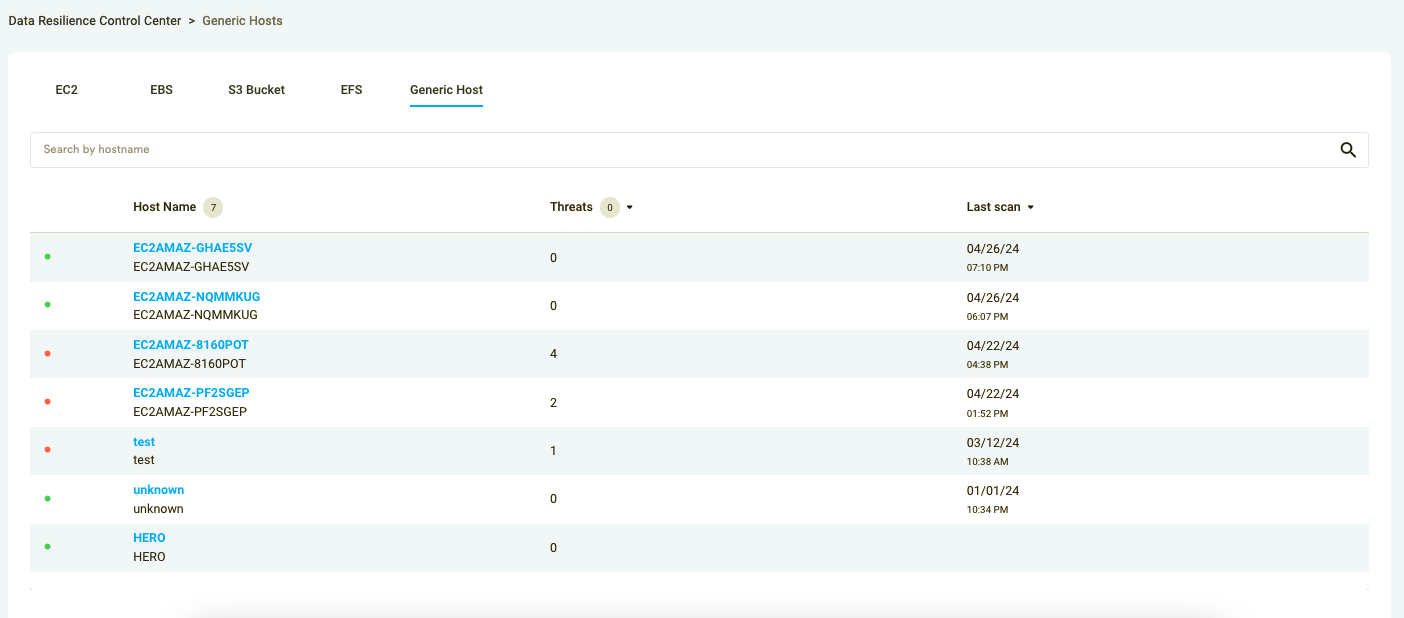
Figure 7.1: Assets / Generic Host
When clicking on the generic host name, you are redirected to the detailed generic host page, where you can find Scans and Jobs tabs as well as some additional information on the generic host.
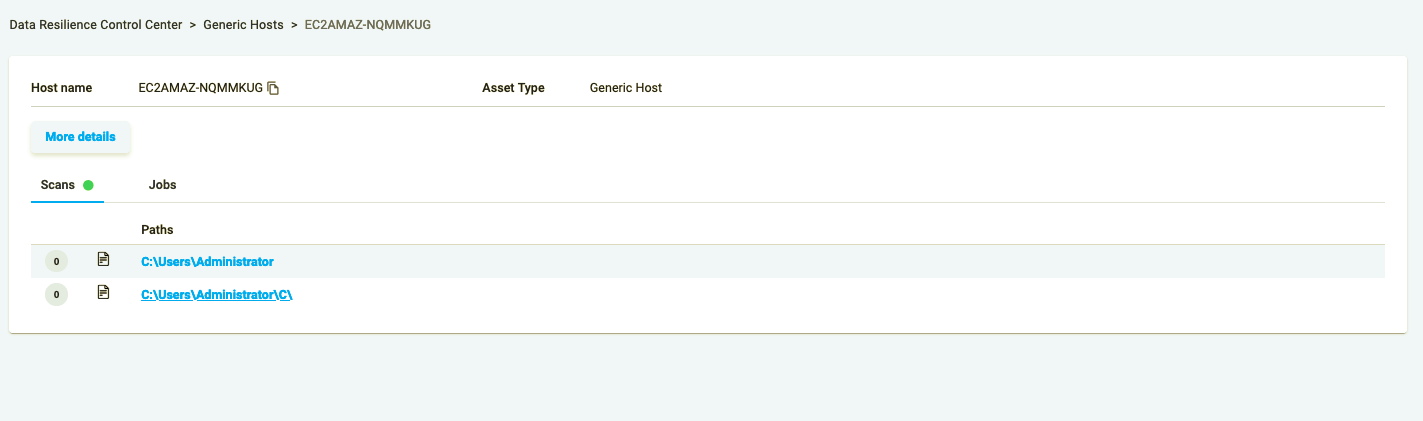
Figure 7.2: Generic Host / Scans
Scans tab contains all the scans performed on a particular generic host. The scans table contains an indication of the number of threats located (a number in the red circle), scan type icon (for example, file) and scanned paths.
By clicking on the path you are able to view all scans performed for this scan on the selected machine.
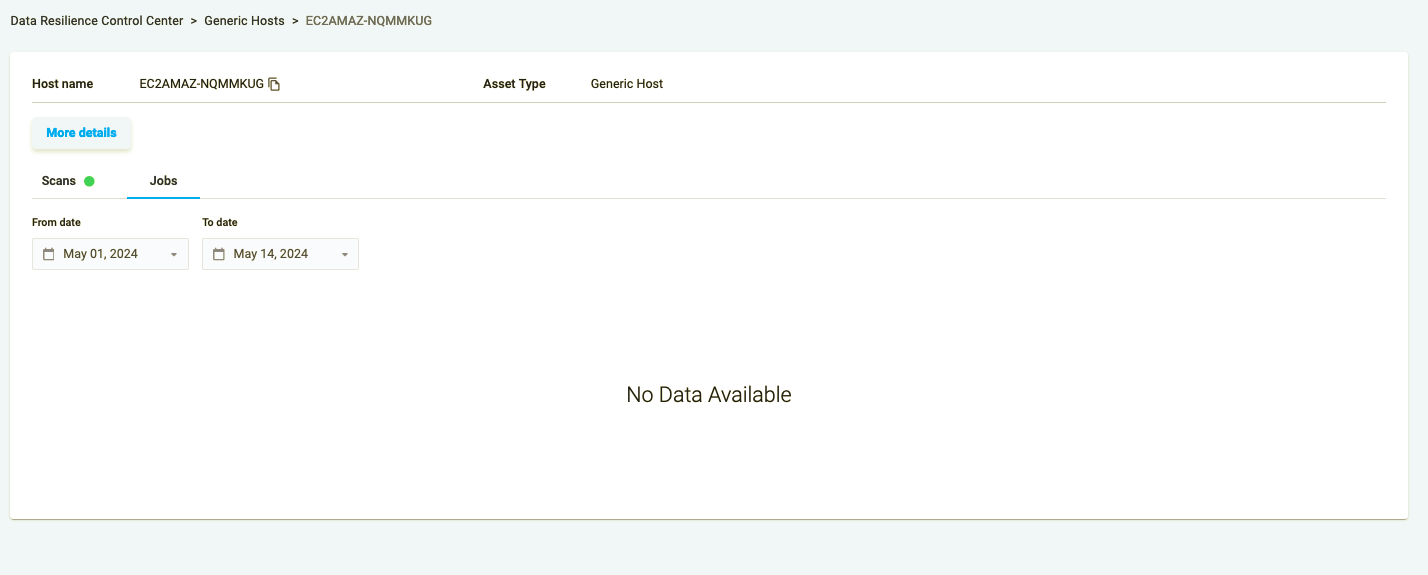
Figure 7.3: Generic Host / Jobs
The Jobs tab carries a list of all jobs performed on this machine. Note, if the list is empty, you might want to extend the time frame on the top of the Jobs tab.