Updates
For the current release the update flow is as follows:
Step 1
Go to the Sources page, locate your AWS account number. Press the 3 dots button on the right. Select and press the “Update” button from the dropdown. You will be forwarded to the Upgrade flow with the account number filled into the input field in Step 1.
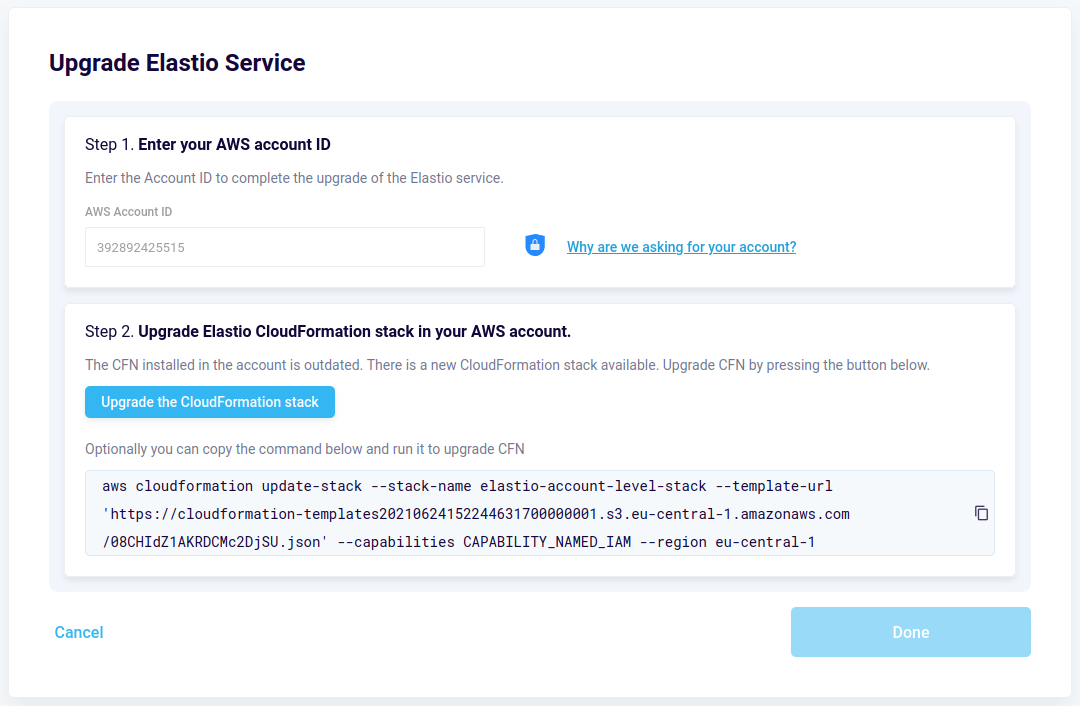
Figure 1: Upgrade flow - Step 1
Step 2
Step 2 will get updated automatically and the “Update CloudFormation Stack” button will appear - see Figure 2.
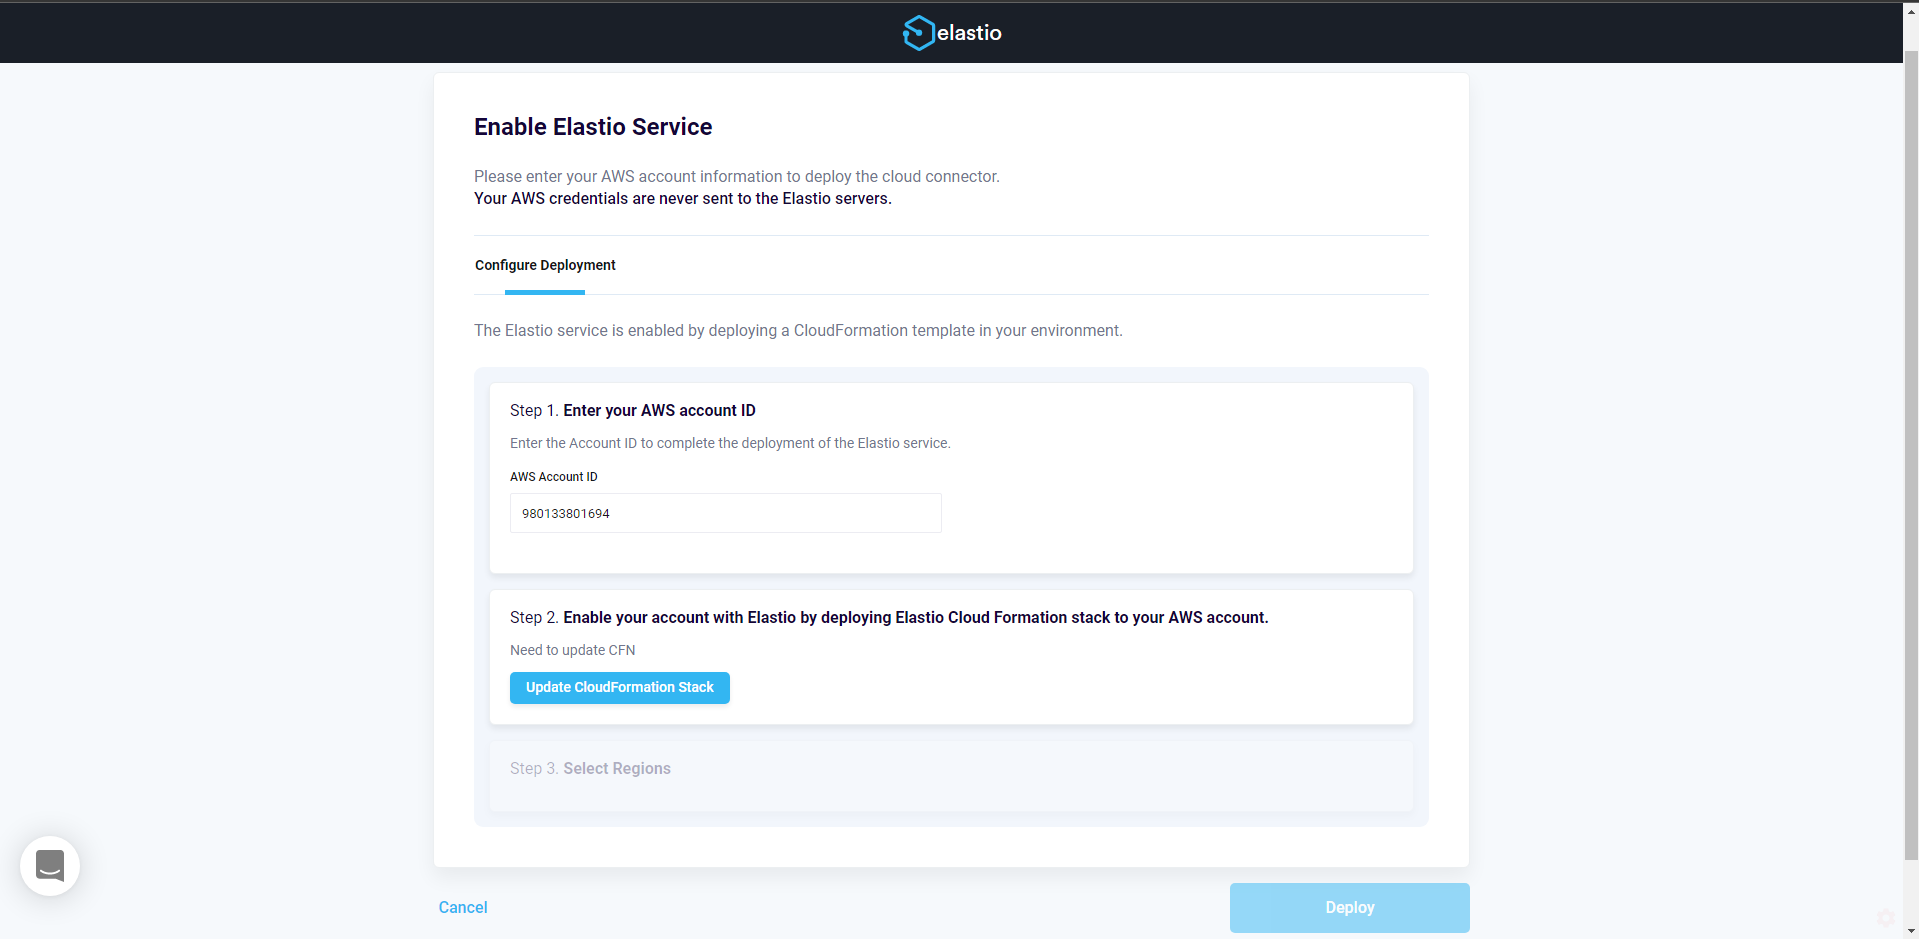
Figure 2: Upgrade CloudFormation Stack
Step 3
Clicking the “Update CloudFormation Stack” button will redirect you to the AWS Console page with the CFN update flow already open. You will need to click through the flow without changing any inputs. Check the “I acknowledge that AWS CloudFormation might create IAM resources with custom names.” checkbox and press the “Update” button on the last step. Once all done wait until the CFN status becomes “UPDATE_COMPLETE”. In the Tenant close the Cloud Installer flow by pressing “Done” and follow to the next step on this page.
Step 4
Once you have updated the CFN in all accounts connected to your Tenant, Elastio receives an alert about this event and we will upgrade your Cloud Connectors on our side - this part is still semi-manual under the hood, so it might not be instantaneous. In your Tenant Console you will see the Cloud Connectors being upgraded on the Sources page, once the upgrade is completed this message will disappear.

Figure 3: Cloud Connectors being upgraded
To expedite the process you can locate the #eap channel in Elastio Slack and send us your tenant name and account number. Once the Cloud Connectors are upgraded, you will receive an e-mail informing you about the upgrade.
Step 5
If you are using Elastio through the Elastio CLI, go ahead and re-run the Elastio CLI installation script to get the latest version.