Sources
Table of Contents
- Sources page overview
- Edit Elastio Source
- Manage Elastio Vault(s)
- Upgrade Elastio Source
- Reconnect Elastio Source
- Unlink Elastio Source
- Link Elastio Source
- Repair Elastio Source
The Source is an AWS account enabled with Elastio. Currently only AWS accounts can be linked to the Elastio Tenant. The list of available Cloud Providers will be expanded over time.
The Elastio Tenant Sources page allows you to edit, unlink, upgrade and repair AWS accounts, as well as to list Elastio Sources.
Sources page overview
The Sources page displays enabled Sources, where all AWS accounts currently linked to Elastio show up.
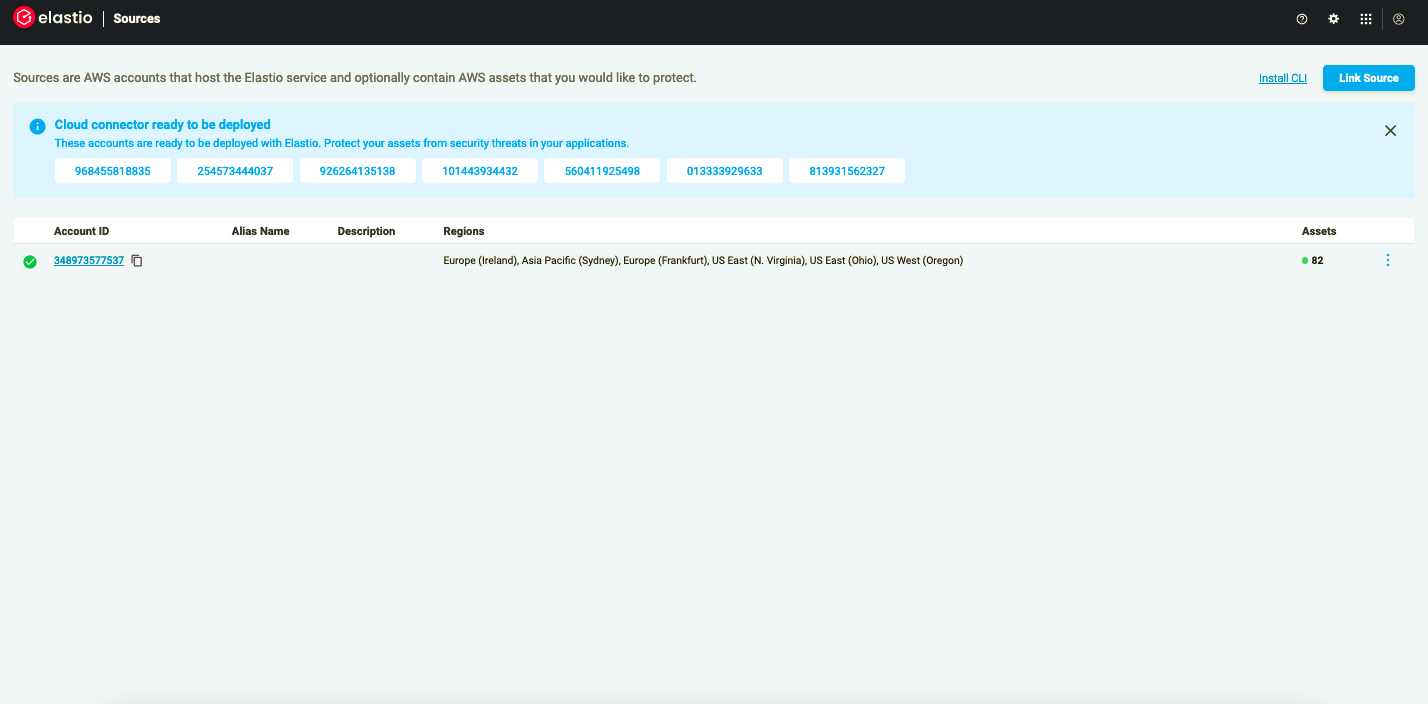
Figure 1: Sources Page layout
The Sources table carries the list of accounts linked to Elastio and provides the following information:
- Account ID - AWS account ID
- Alias Name - for the AWS accounts that have an Alias - the Alias will be displayed in this field
- Description - an optional field that can be populated through Edit in your Elastio Tenant on the particular Source
- Regions - a list of all connected regions within the AWS account
- Assets - a number of assets protected in the account
Edit Elastio Source
An Elastio Source can be upgraded, edited or unlinked. To edit a Source, press the 3 dots button on the right of the Sources table row of an account you want to modify and select “Edit”.
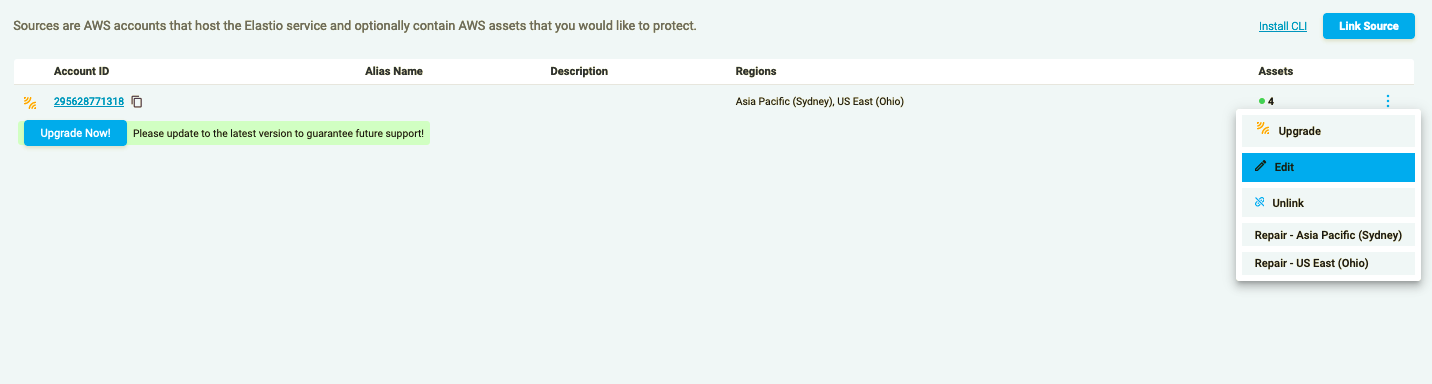
Figure 2: Edit Source button
An Edit Source page will open.
To edit the AWS account, Alias Name or Description, modify the text in the respective input field and press “Save Changes” button.
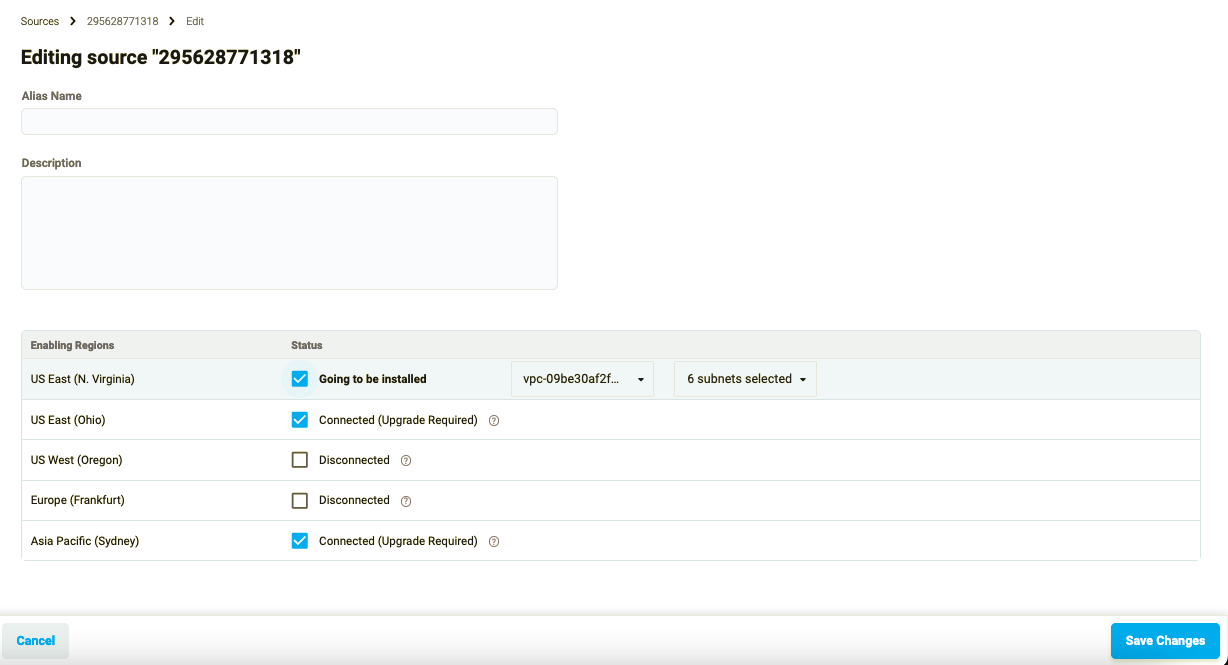
Figure 3: Edit Source page
Edit Source page also allows you to deploy Elastio to disconnected regions within the Source (AWS account). Press “Save Changes” button when all regions you want to deploy to are selected.
Any change on the Edit Source Page followed by pressing the “Save Changes” button will trigger a confirmation pop-up, where to confirm the changes “Yes, Proceed” should be pressed. Pressing “No, Cancel” will discard any changes made.

Figure 4: Edit Source confirmation pop-up
Manage Elastio Vault(s)
See detailed instruction on how to view, edit and manage Elastio vaults here.
Upgrade Elastio Source
An AWS account in the Sources can be upgraded.
To update a Source, press the “Upgrade” button in the drop-down menu located under the 3 dots button on the right side of the Sources table.
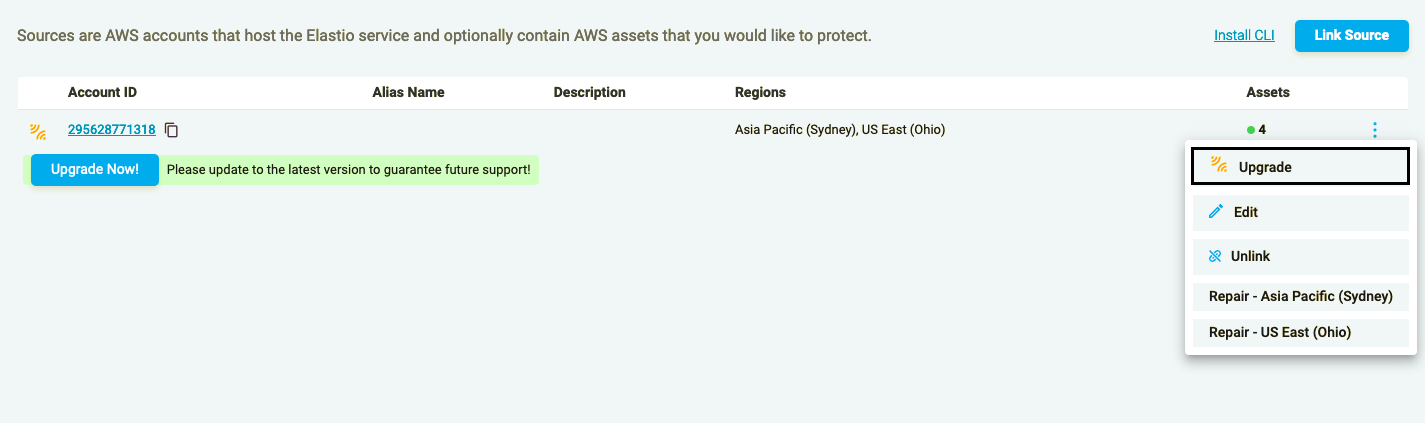
Figure 5: Upgrade Source button
You will be forwarded to the Elastio Source Update page. Enter the Account ID to complete the upgrade of the Elastio service and press “Done”.
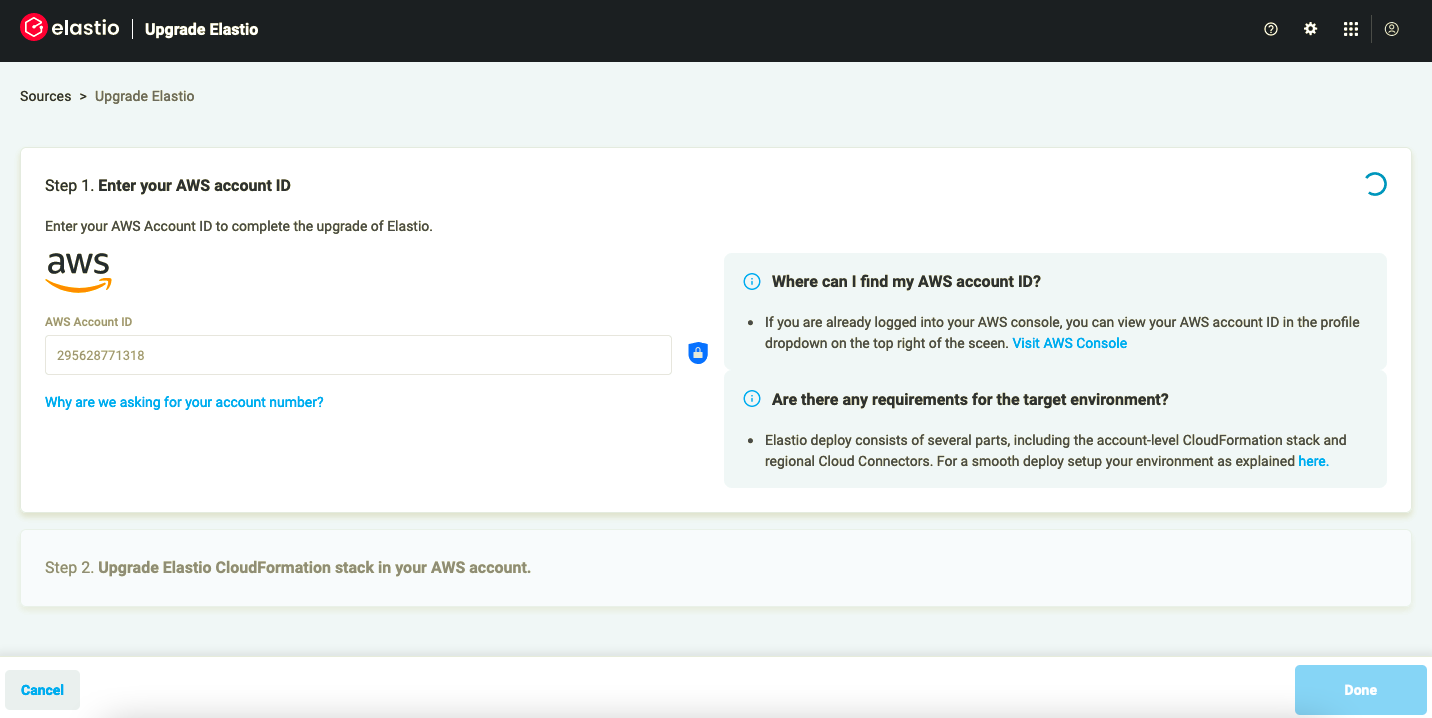
Figure 6: Update Source flow
Reconnect Elastio Source
AWS account in the Enabled Sources list with a Disconnected status can be reconnected to Elastio. To do so, press the “Reconnect” button in the drop-down under 3 dots button on the right of the respective Enabled Sources table row.
Unlink Elastio Source
AWS account in the Enabled Sources can be unlinked, regardless of the Status (Connected or Disconnected).
To unlink a Source, the “Unlink” button should be pressed in the drop-down menu on the right.
After the “Unlink” button is pressed, the confirmation pop-up will appear. To remove the regions of this account from Elastio, press “Yes, unlink”. To cancel the operation, press “No, cancel”.
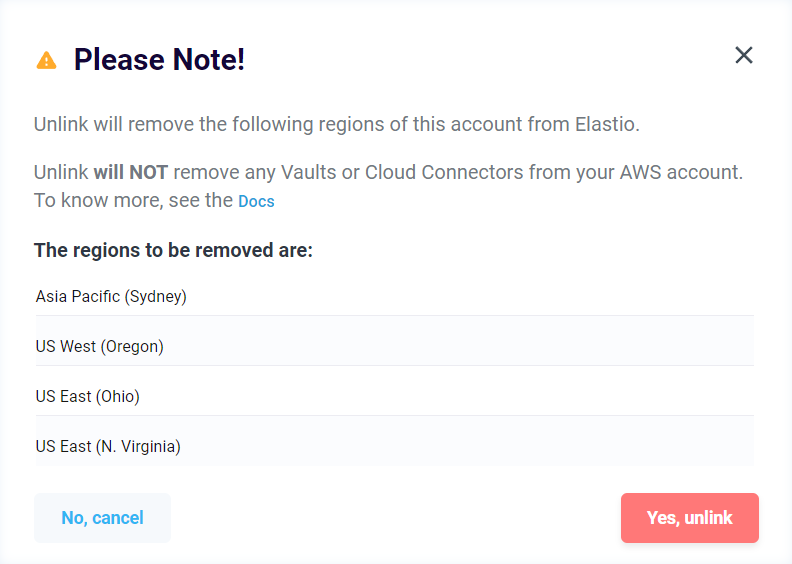
Figure 7: Unlink Source
Link Elastio Source
To link an AWS account as a new Elastio Source, please follow the steps on the Deploy Elastio page.
Repair Elastio Source
Elastio repair functionality allows you to repair the Cloud Connector and vault(s). You will be asked by Elastio support to run this in case there is a chance that some Elastio resource is missing or misconfigured. This functionality may be also effective in case of continuously failing jobs, accidentally deleted resources or warnings for the broken sources on the Sources page. Repair reapplies the Terraform project for the Elastio deployment in a specific account and region, checking and redeploying the resources.
To repair the Cloud Connector and its related vaults, click the “Repair” button in the drop-down menu located under the 3 dots button on the right side of the Sources table.
A confirmation pop-up will be displayed.
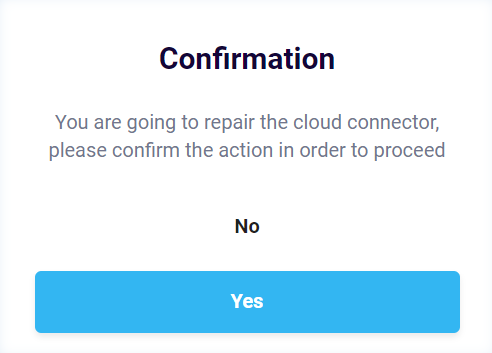
Figure 8: Repair confirmation window
To proceed with operation, press “Yes”. You can monitor the progress of this operation on the Jobs page.