Team Members
Table of Contents
To find the Team Members section, navigate to the Settings page.
Team Members
The Team Members section provides a list of active and invited users of the Elastio Tenant.
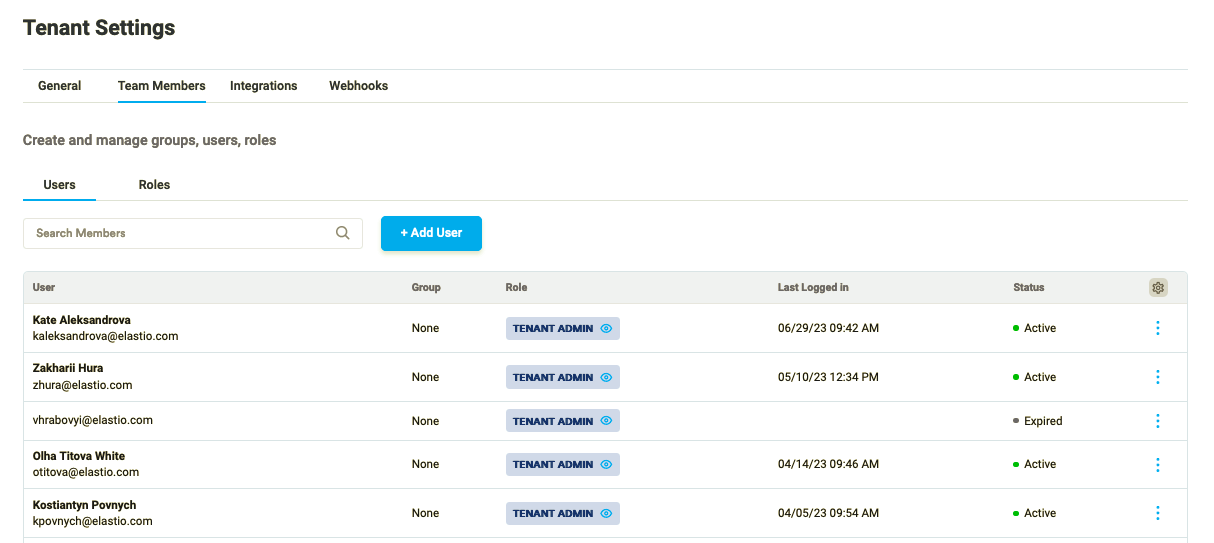
Figure 1: Users
Using the 3 dots button on the right of the user, you can resend invite or disable the user.
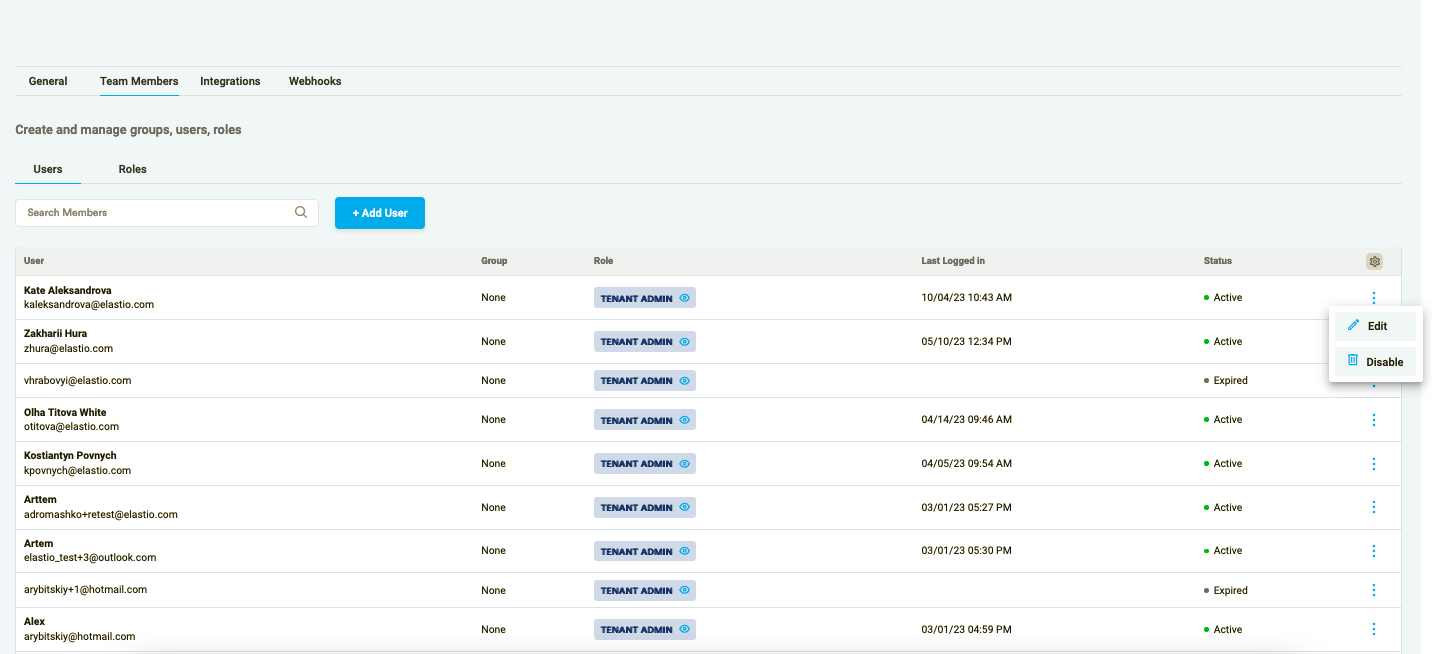
Figure 2: Edit/Disable Users
To add a new user, press the “Add User” button.
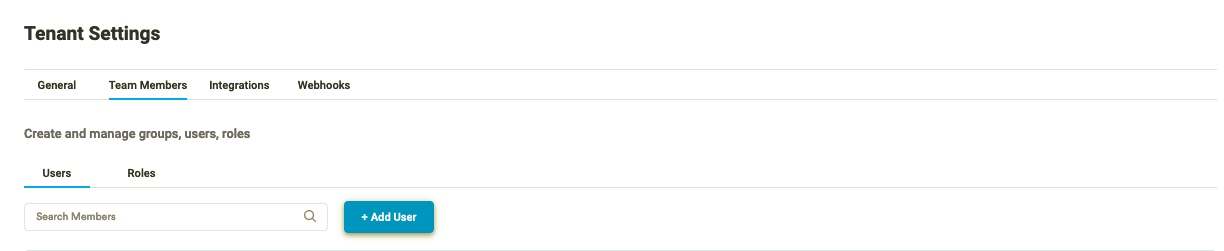
Figure 3.1: Add New User
Add the user`s email and press “Save” in the “Add New User” pop-up.
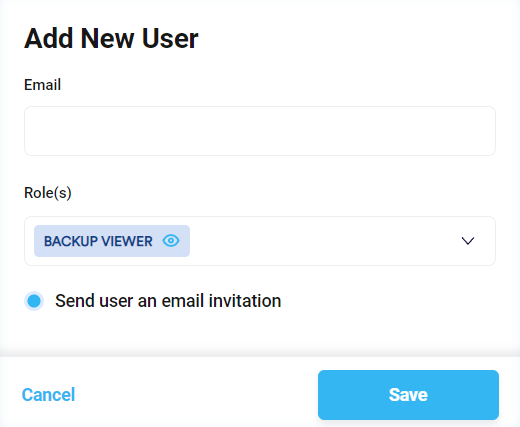
Figure 4.2: Save New User