Account Settings
Table of Contents
The Elastio Tenant Account Settings page can be opened by pressing the user icon in the top right corner of the screen and then My Account.
Account profile
The Account profile section allows you to modify the name and the phone number for your user in the Tenant, as well as adding and changing the profile photo.
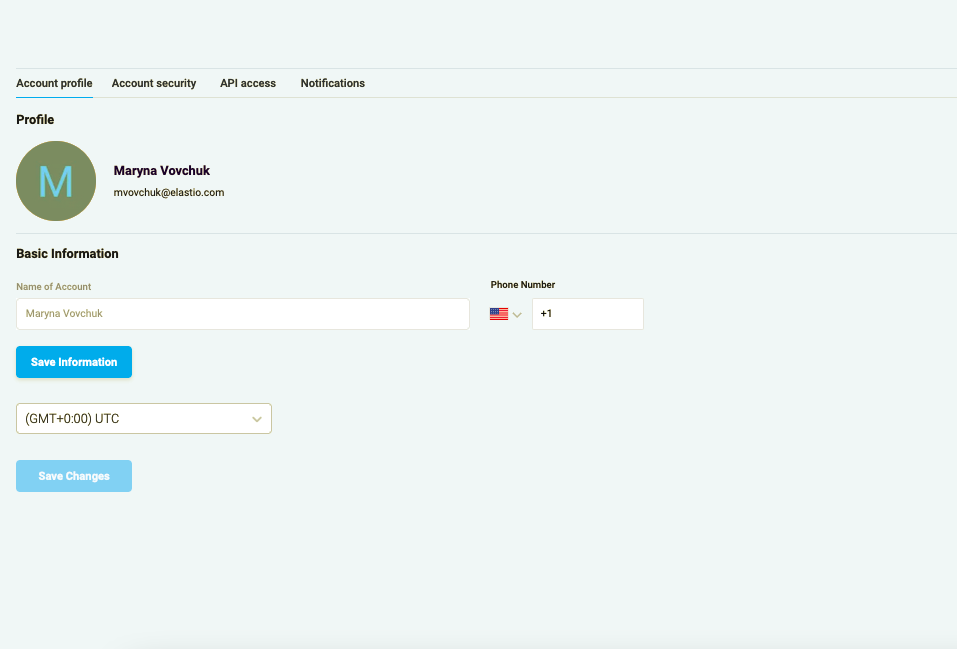
Figure 1: Account profile
Account security
To enable Multi-Factor Authentication and view the sessions, check the Account Security section.
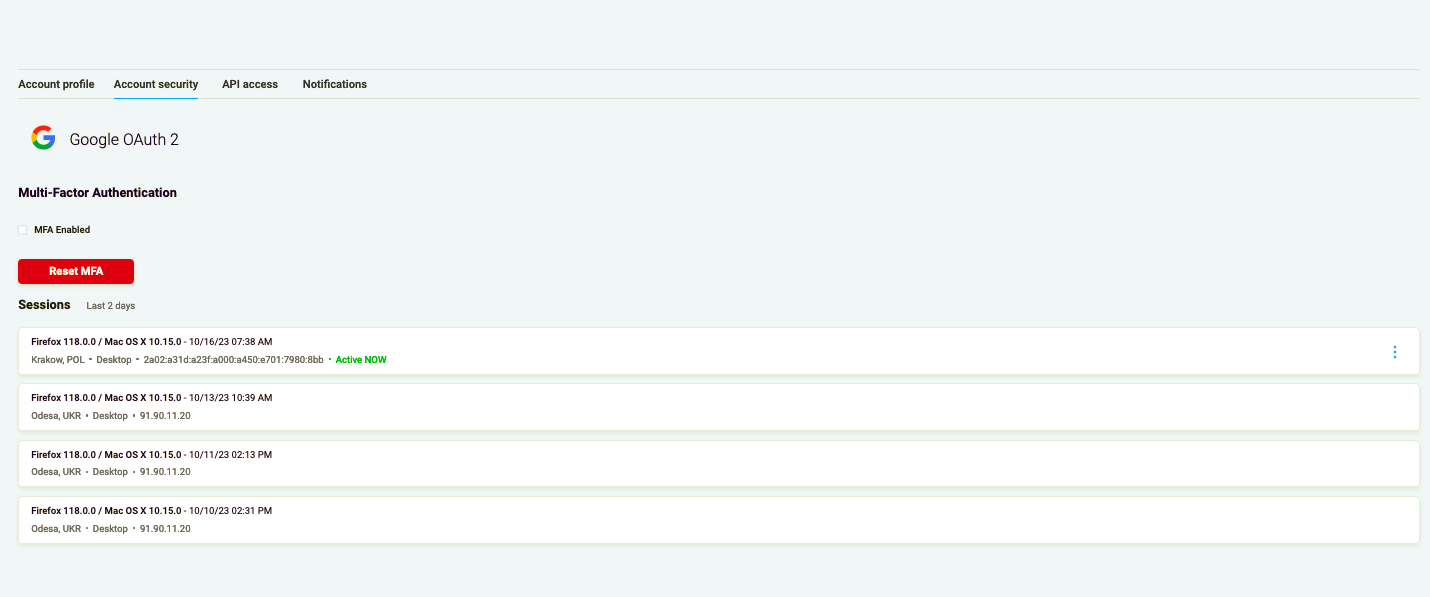
Figure 2: Account security
API Access
API Access page allows you to generate, review and revoke the API tokens with different authorization options to use the Elastio APIs.

Figure 2: API Access
Alerts
The forth tab called Alerts allows you to connect the Elastio Tenant to your Slack and receive the alert to the direct messages through Slack or to your email address. This setting will only be applied to the current user of the tenant as opposed to the Tenant wide alerts settings outlined here.
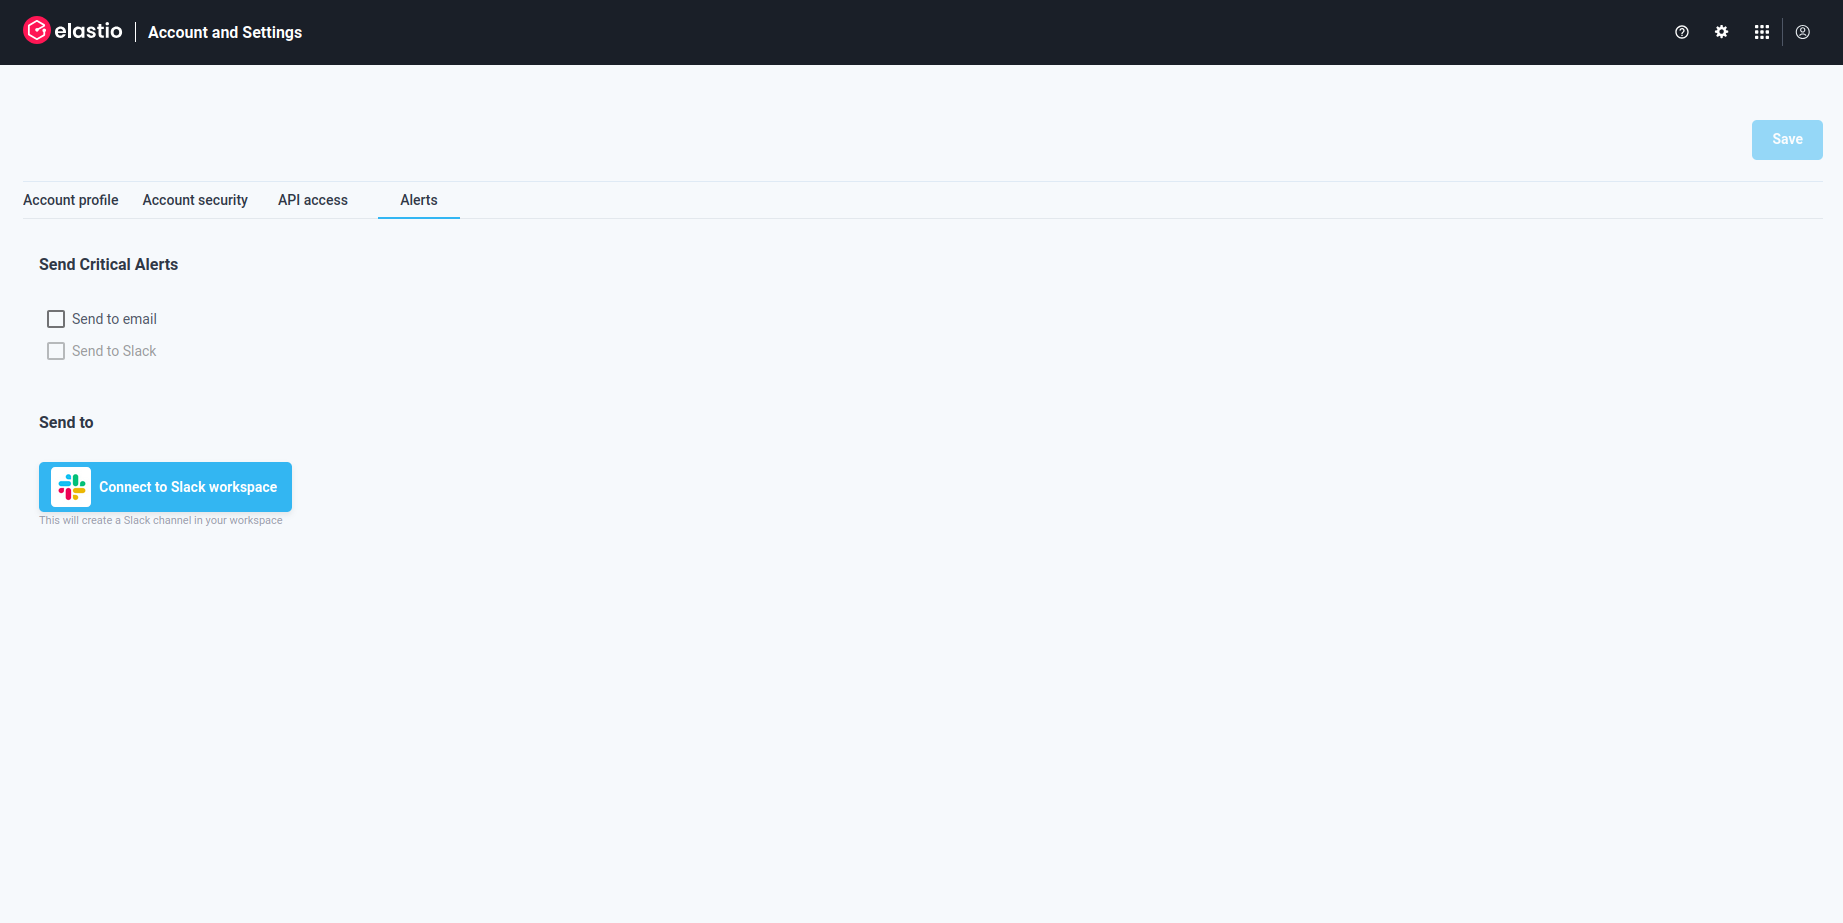
Figure 4.1: Account Alerts
To connect Elastio tenant to your Slack you need to press the “Connect to Slack workspace” button and then press “Allow” in the dialog that will open in the new tab. Once done, you will be redirected back to the Notifications page.
To enable email notifications, check the checkbox of the level of notifications you would like to receive and press the “Save” in the top right corner of the page.